You also want an ePaper? Increase the reach of your titles
YUMPU automatically turns print PDFs into web optimized ePapers that Google loves.
UK<br />
US<br />
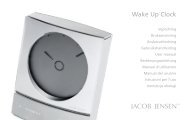
JACOB JENSEN TM <strong>Alarm</strong> <strong>Clock</strong> (registered design)<br />
Congratulations with your new JACOB JENSEN TM <strong>Alarm</strong> <strong>Clock</strong>.<br />
The alarm clock is designed in Denmark by Jacob Jensen, whose products have gained<br />
international recognition for their original, simple and classic design. Jacob Jensen has<br />
received around 100 prizes from around the world and has 19 products included in the<br />
Design Study Collection and The Design Collection of The Museum of Modern Art in<br />
New York.<br />
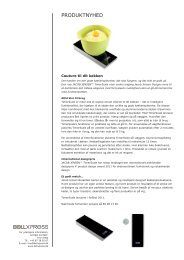
The JACOB JENSEN TM <strong>Alarm</strong> <strong>Clock</strong> is a 24 hour clock with alarm, snooze function and<br />
built-in light. The <strong>Alarm</strong> <strong>Clock</strong> can either stand on its own or it can be mounted<br />
directly on the wall using a JACOB JENSEN TM Mounting plate. The alarm clock can also<br />
be mounted on a JACOB JENSEN TM Weather station stand, on its own or with one or<br />
more products from the JACOB JENSEN TM Weather station range.<br />
Mounting and replacing battery<br />
The alarm clock requires 1 “AAA” battery (included - already mounted in the battery<br />
compartment). Follow these steps to install or replace the battery:<br />
1. Open the battery-cover on the back of the alarm clock.<br />
2. Mount the battery as indicated by the polarity symbols (+/-) marked inside the<br />
battery compartment.<br />
18<br />
3. Replace the battery-cover.<br />
Note:<br />
1. When you install or replace the battery the time has to be adjusted again.<br />
2. When the display starts to go dimm it is time to replace the battery.<br />
Setting Time<br />
1. Push the TIME SET button for more than 2 seconds with a pointed object e.g. a<br />
ballpoint pen. The button is placed on the back of the alarm clock. The flashing<br />
display now shows TIME SET 0:00.<br />
2. Push the TIME V -button and hold it until the correct time setting is obtained.<br />
Push and hold the button = quick scrolling. Push momentarily = 1 minute forward.<br />
Begin by pushing the button and hold it for quick scrolling, then push momentarily<br />
a number of times to achieve exact time.<br />
3. Push the TIME SET button once again to confirm.<br />
Setting <strong>Alarm</strong> time<br />
1. Push the ALARM button and hold it for more than 2 seconds. The display will start<br />
flashing and show ALARM SET.