KitchenAid E 260 WS - Hood - E 260 WS - Hood EN (857400229020) Scheda programmi
KitchenAid E 260 WS - Hood - E 260 WS - Hood EN (857400229020) Scheda programmi
KitchenAid E 260 WS - Hood - E 260 WS - Hood EN (857400229020) Scheda programmi
Create successful ePaper yourself
Turn your PDF publications into a flip-book with our unique Google optimized e-Paper software.
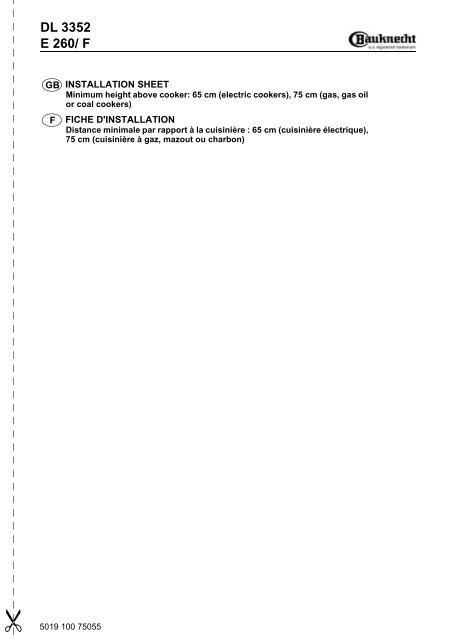
DL 3352<br />
E <strong>260</strong>/ F<br />
GB<br />
F<br />
INSTALLATION SHEET<br />
Minimum height above cooker: 65 cm (electric cookers), 75 cm (gas, gas oil<br />
or coal cookers)<br />
FICHE D'INSTALLATION<br />
Distance minimale par rapport à la cuisinière : 65 cm (cuisinière électrique),<br />
75 cm (cuisinière à gaz, mazout ou charbon)<br />
<br />
5019 100 75055
DL 3352<br />
E <strong>260</strong>/ F<br />
4A<br />
4F (DL3352)<br />
3<br />
90° 90°<br />
5<br />
5<br />
6 6<br />
261<br />
1<br />
496<br />
2<br />
8<br />
7<br />
9 9<br />
90°<br />
10<br />
90°<br />
5019 100 75055
DL 3352<br />
E <strong>260</strong>/ F<br />
PRODUCT DESCRIPTION SHEET<br />
CONTROL PANEL<br />
A. Speed selector.<br />
B. Light switch.<br />
4<br />
3 1<br />
1. Control panel.<br />
2. Grease filter (inside the extractor grille).<br />
3. Lighting unit.<br />
4. Extractor grille.<br />
2<br />
medium amount of<br />
steam and fumes<br />
small amount of<br />
steam and fumes<br />
O 1 2 3<br />
large amount<br />
of steam and<br />
fumes<br />
A<br />
REPLACING BULBS<br />
1. Unplug the appliance or switch off the mains<br />
power supply.<br />
2. Remove the extractor grille.<br />
3. Remove the burnt-out bulb.<br />
Use 40W max E14 bulbs only.<br />
4. Remount the extractor grille.<br />
O<br />
I<br />
B<br />
REMOVING AND REPLACING OR<br />
CLEANING THE GREASE FILTER<br />
1. Unplug the appliance or switch off the mains<br />
power supply.<br />
2. Remove the extractor grille (turn the side<br />
knobs 90°).<br />
3. Remove the dirty grease filter (the grease filter<br />
is fixed to the extractor grille with clips which<br />
unfasten to allow extraction of the filter).<br />
4. After replacing or cleaning the grease filter<br />
(depends on model), remount in reverse<br />
order, making sure the entire extraction<br />
surface is covered.<br />
90° 90°<br />
FITTING OR R<strong>EN</strong>EWING THE CARBON<br />
FILTER<br />
1. Unplug the appliance or switch off the mains<br />
power supply.<br />
2. Remove the extractor grille.<br />
3. If the carbon filter is already mounted and<br />
needs renewing, turn anticlockwise until it<br />
unlocks.<br />
4. If the carbon filter is not mounted, mount<br />
the filters over the motor protection grille and<br />
turn the carbon filter clockwise.<br />
5. Remount the extractor grille.<br />
<br />
5019 100 75055<br />
GB<br />
F


