
You also want an ePaper? Increase the reach of your titles
YUMPU automatically turns print PDFs into web optimized ePapers that Google loves.
4<br />
1. SCOPE<br />
To show the correct procedures for the mounting<br />
and use of BREMBO front braking systems for<br />
racing motorcycles.<br />
2. RESERVOIR<br />
2.1. Choice of the reservoir<br />
The capacity of the reservoir must be such that when<br />
the brake fluid is between the MIN and MAX levels<br />
(with the cover in a horizontal position) the volume is<br />
at least equal to that required by the brake pistons in<br />
case of maximum pad and rotor wear.<br />
2.2. Mounting the reservoir<br />
a. The reservoir must be mounted on the<br />
motorcycle in such a way that with the<br />
motorcycle in a vertical position, the reservoir<br />
upper border in horizontal.<br />
b. With the motorcycle in a vertical position, the MIN<br />
level indication on the reservoir must be higher<br />
than the master cylinder fluid inlet pipe fitting.<br />
2.3. Inspections<br />
Verify that the brake fluid can flow freely within<br />
the reservoir, from the upper border down to the<br />
MIN level. This happens when air can flow from the<br />
exterior to the inside of the reservoir membrane (if<br />
this air flow is hampered, a vacuum could be<br />
created and this would not allow fluid to flow<br />
downwards). The popular bands that are usually<br />
wrapped around brake fluid reservoirs (if they are<br />
too close to the reservoir cover) could hamper this<br />
“breathing” of the reservoir and thus the mastercylinder<br />
would not be fed properly.<br />
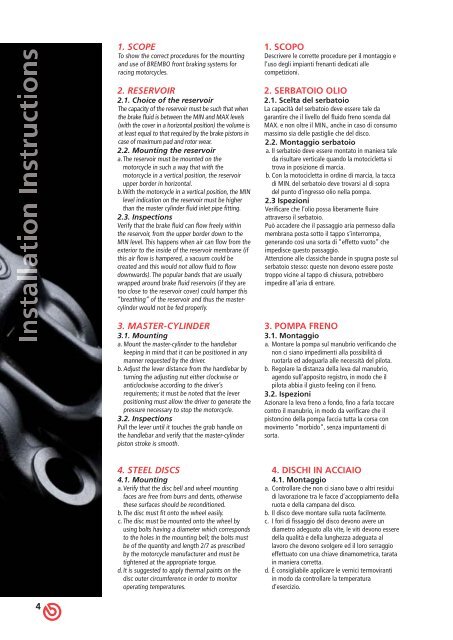
3. MASTER-CYLINDER<br />
3.1. Mounting<br />
a. Mount the master-cylinder to the handlebar<br />
keeping in mind that it can be positioned in any<br />
manner requested by the driver.<br />
b. Adjust the lever distance from the handlebar by<br />
turning the adjusting nut either clockwise or<br />
anticlockwise according to the driver’s<br />
requirements; it must be noted that the lever<br />
positioning must allow the driver to generate the<br />
pressure necessary to stop the motorcycle.<br />
3.2. Inspections<br />
Pull the lever until it touches the grab handle on<br />
the handlebar and verify that the master-cylinder<br />
piston stroke is smooth.<br />
4. STEEL DISCS<br />
4.1. Mounting<br />
a. Verify that the disc bell and wheel mounting<br />
faces are free from burrs and dents, otherwise<br />
these surfaces should be reconditioned.<br />
b. The disc must fit onto the wheel easily.<br />
c. The disc must be mounted onto the wheel by<br />
using bolts having a diameter which corresponds<br />
to the holes in the mounting bell; the bolts must<br />
be of the quantity and length 2/7 as prescribed<br />
by the motorcycle manufacturer and must be<br />
tightened at the appropriate torque.<br />
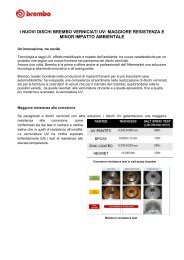
d. It is suggested to apply thermal paints on the<br />
disc outer circumference in order to monitor<br />
operating temperatures.<br />
1. SCOPO<br />
Descrivere le corrette procedure per il montaggio e<br />
l’uso degli impianti frenanti dedicati alle<br />
competizioni.<br />
2. SERBATOIO OLIO<br />
2.1. Scelta del serbatoio<br />
La capacità del serbatoio deve essere tale da<br />
garantire che il livello del fluido freno scenda dal<br />
MAX. e non oltre il MIN., anche in caso di consumo<br />
massimo sia delle pastiglie che del disco.<br />
2.2. Montaggio serbatoio<br />
a. Il serbatoio deve essere montato in maniera tale<br />
da risultare verticale quando la motocicletta si<br />
trova in posizione di marcia.<br />
b. Con la motocicletta in ordine di marcia, la tacca<br />
di MIN. del serbatoio deve trovarsi al di sopra<br />
del punto d’ingresso olio nella pompa.<br />
2.3 Ispezioni<br />
Verificare che l’olio possa liberamente fluire<br />
attraverso il serbatoio.<br />
Può accadere che il passaggio aria permesso dalla<br />
membrana posta sotto il tappo s’interrompa,<br />
generando così una sorta di “effetto vuoto” che<br />
impedisce questo passaggio.<br />
Attenzione alle classiche bande in spugna poste sul<br />
serbatoio stesso: queste non devono essere poste<br />
troppo vicine al tappo di chiusura, potrebbero<br />
impedire all’aria di entrare.<br />
3. POMPA FRENO<br />
3.1. Montaggio<br />
a. Montare la pompa sul manubrio verificando che<br />
non ci siano impedimenti alla possibilità di<br />
ruotarla ed adeguarla alle necessità del pilota.<br />
b. Regolare la distanza della leva dal manubrio,<br />
agendo sull’apposito registro, in modo che il<br />
pilota abbia il giusto feeling con il freno.<br />
3.2. Ispezioni<br />
Azionare la leva freno a fondo, fino a farla toccare<br />
contro il manubrio, in modo da verificare che il<br />
pistoncino della pompa faccia tutta la corsa con<br />
movimento “morbido”, senza impuntamenti di<br />
sorta.<br />
4. DISCHI IN ACCIAIO<br />
4.1. Montaggio<br />
a. Controllare che non ci siano bave o altri residui<br />
di lavorazione tra le facce d’accoppiamento della<br />
ruota e della campana del disco.<br />
b. Il disco deve montare sulla ruota facilmente.<br />
c. I fori di fissaggio del disco devono avere un<br />
diametro adeguato alla vite, le viti devono essere<br />
della qualità e della lunghezza adeguata al<br />
lavoro che devono svolgere ed il loro serraggio<br />
effettuato con una chiave dinamometrica, tarata<br />
in maniera corretta.<br />
d. È consigliabile applicare le vernici termoviranti<br />
in modo da controllare la temperatura<br />
d’esercizio.