K 5.55 M - Alfred Kärcher Gmbh and Company
K 5.55 M - Alfred Kärcher Gmbh and Company
K 5.55 M - Alfred Kärcher Gmbh and Company

Create successful ePaper yourself
Turn your PDF publications into a flip-book with our unique Google optimized e-Paper software.
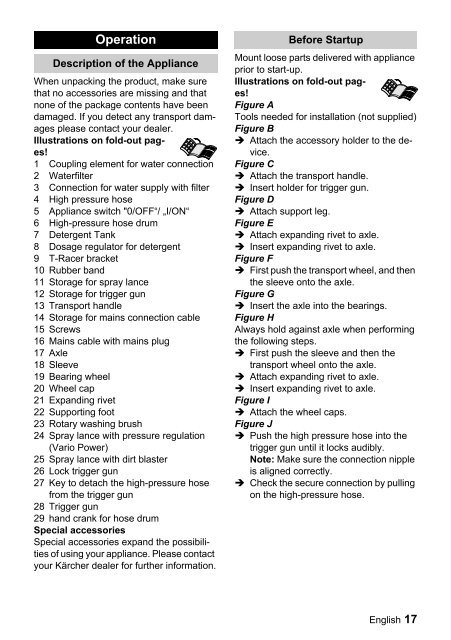
Operation<br />
Description of the Appliance<br />
When unpacking the product, make sure<br />
that no accessories are missing <strong>and</strong> that<br />
none of the package contents have been<br />
damaged. If you detect any transport damages<br />
please contact your dealer.<br />
Illustrations on fold-out pages!<br />
1 Coupling element for water connection<br />
2 Waterfilter<br />
3 Connection for water supply with filter<br />
4 High pressure hose<br />
5 Appliance switch "0/OFF“/ „I/ON“<br />
6 High-pressure hose drum<br />
7 Detergent Tank<br />
8 Dosage regulator for detergent<br />
9 T-Racer bracket<br />
10 Rubber b<strong>and</strong><br />
11 Storage for spray lance<br />
12 Storage for trigger gun<br />
13 Transport h<strong>and</strong>le<br />
14 Storage for mains connection cable<br />
15 Screws<br />
16 Mains cable with mains plug<br />
17 Axle<br />
18 Sleeve<br />
19 Bearing wheel<br />
20 Wheel cap<br />
21 Exp<strong>and</strong>ing rivet<br />
22 Supporting foot<br />
23 Rotary washing brush<br />
24 Spray lance with pressure regulation<br />
(Vario Power)<br />
25 Spray lance with dirt blaster<br />
26 Lock trigger gun<br />
27 Key to detach the high-pressure hose<br />
from the trigger gun<br />
28 Trigger gun<br />
29 h<strong>and</strong> crank for hose drum<br />
Special accessories<br />
Special accessories exp<strong>and</strong> the possibilities<br />
of using your appliance. Please contact<br />
your Kärcher dealer for further information.<br />
Before Startup<br />
Mount loose parts delivered with appliance<br />
prior to start-up.<br />
Illustrations on fold-out pages!<br />
Figure A<br />
Tools needed for installation (not supplied)<br />
Figure B<br />
Attach the accessory holder to the device.<br />
Figure C<br />
Attach the transport h<strong>and</strong>le.<br />
Insert holder for trigger gun.<br />
Figure D<br />
Attach support leg.<br />
Figure E<br />
Attach exp<strong>and</strong>ing rivet to axle.<br />
Insert exp<strong>and</strong>ing rivet to axle.<br />
Figure F<br />
First push the transport wheel, <strong>and</strong> then<br />
the sleeve onto the axle.<br />
Figure G<br />
Insert the axle into the bearings.<br />
Figure H<br />
Always hold against axle when performing<br />
the following steps.<br />
First push the sleeve <strong>and</strong> then the<br />
transport wheel onto the axle.<br />
Attach exp<strong>and</strong>ing rivet to axle.<br />
Insert exp<strong>and</strong>ing rivet to axle.<br />
Figure I<br />
Attach the wheel caps.<br />
Figure J<br />
Push the high pressure hose into the<br />
trigger gun until it locks audibly.<br />
Note: Make sure the connection nipple<br />
is aligned correctly.<br />
Check the secure connection by pulling<br />
on the high-pressure hose.<br />
English 17