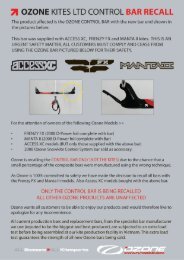
PILOT'S MANUAL MANUEL DE VOL - Ozone
PILOT'S MANUAL MANUEL DE VOL - Ozone
PILOT'S MANUAL MANUEL DE VOL - Ozone

You also want an ePaper? Increase the reach of your titles
YUMPU automatically turns print PDFs into web optimized ePapers that Google loves.
BRAKE LINES<br />
The brake lines connect to the trailing edge via a series of subsidiary lines.<br />
Because of their positions they are more easily scuffed than other lines on your<br />
glider, so they should be checked extra frequently.<br />
The main brake lines run through pulleys connected to the rear risers. The brake<br />
handles are tied to the main lines and conveniently positioned press-studs attach<br />
them to the risers when not in use. This should prevent them twisting and tangling.<br />
Adjusting brake lines<br />
Important: the lengths of the brake lines will have been set carefully during testing<br />
and manufacture. At OZONE we feel it is better to have slightly long brake<br />
lines and to fly with a wrap (one turn of line around the hand). However, we know<br />
that some pilots prefer the lines slightly shorter and may wish to adjust them.<br />
Whatever you choose, make the following checks:<br />
· Ensure both main brake lines are of equal length.<br />
· If a brake handle has been removed for any reason, check that its line is still<br />
routed through the pulley when it is replaced.<br />
· When the brake handles are released in flight the brake lines should be slack.<br />
There should be a substantial "bow" in them and absolutely no deformation of the<br />
trailing edge.<br />
We recommend a minimum of 10cm of free play between the brake release position<br />
and the start of deformation on the glider. This will prevent the trailing edge<br />
from being deformed when using the speed system.<br />
In the unlikely event of a brake line snapping in flight, or a handle becoming<br />
detached, the glider can be flown by gently pulling the rear risers (D-risers) for<br />
directional control.<br />
9