Betriebsanleitung Operating manual Mode d'emploi - Uzin Utz AG
Betriebsanleitung Operating manual Mode d'emploi - Uzin Utz AG
Betriebsanleitung Operating manual Mode d'emploi - Uzin Utz AG

You also want an ePaper? Increase the reach of your titles
YUMPU automatically turns print PDFs into web optimized ePapers that Google loves.
3.2 Danger while working with the machine<br />
06/2002-009884500 Fugenfräse FRÄSMASTER<br />
... that’s power!<br />
The JUNIO-STRIPPER is designed to the highest technical<br />
standards. Incorrect use can be dangerous! Disturbances that<br />
could impair safety, have to be eliminated at once.<br />
3.3 Restriction of use<br />
The JUNIO-STRIPPER is exclusively for removing bonded floor<br />
coverings in dry environments. It should not be used for any<br />
other purpose.<br />
3.4 Genuine Spare parts<br />
Spare parts and accessories are manufactured uniquely for the<br />
JUNIO-STRIPPER. It must be emphasized that parts obtained<br />
from unauthorized sources must not be used.<br />
WOLFF GmbH cannot be held responsible for the performance<br />
of or any damage arising from the use of machines in which<br />
genuine spare parts have not been used.<br />
This is particularly important with replacement blades.<br />
4.0 Maintenance<br />
The JUNIO-STRIPPER is maintenance-free.<br />
4.1 Changing the blade<br />
Disconnect the power supply before changing the blade. Use<br />
work gloves for your own safety.<br />
put on the blade protection (enclosed in the tools set)<br />
clean and loosen the screws of the blade mounting,<br />
set the wrench at a position opposite to the blade to avoid<br />
injury.<br />
replace the blade.<br />
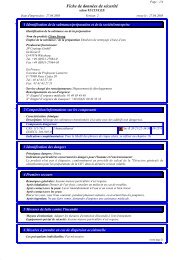
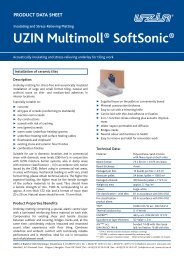
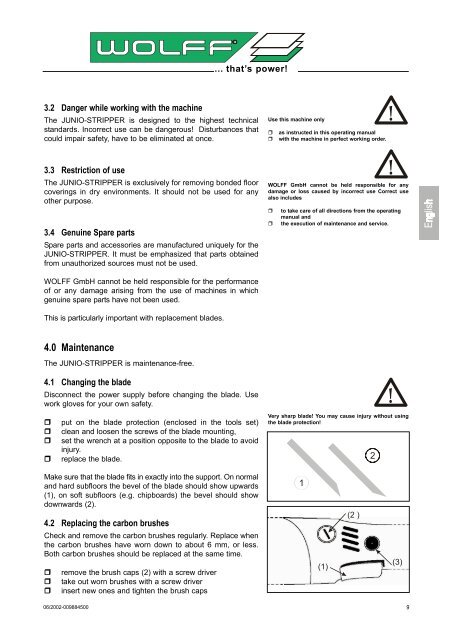
Make sure that the blade fits in exactly into the support. On normal<br />
and hard subfloors the bevel of the blade should show upwards<br />
(1), on soft subfloors (e.g. chipboards) the bevel should show<br />
downwards (2).<br />
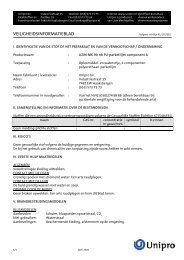
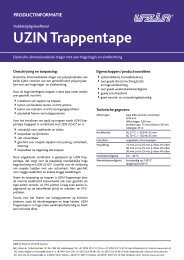
4.2 Replacing the carbon brushes<br />
Check and remove the carbon brushes regularly. Replace when<br />
the carbon brushes have worn down to about 6 mm, or less.<br />
Both carbon brushes should be replaced at the same time.<br />
remove the brush caps (2) with a screw driver<br />
take out worn brushes with a screw driver<br />
insert new ones and tighten the brush caps<br />
Use this machine only<br />
as instructed in this operating <strong>manual</strong><br />
with the machine in perfect working order.<br />
WOLFF GmbH cannot be held responsible for any<br />
damage or loss caused by incorrect use Correct use<br />
also includes<br />
to take care of all directions from the operating<br />
<strong>manual</strong> and<br />
the execution of maintenance and service.<br />
Very sharp blade! You may cause injury without using<br />
the blade protection!<br />
1<br />
(1)<br />
(2 )<br />
2<br />
(3)<br />
9