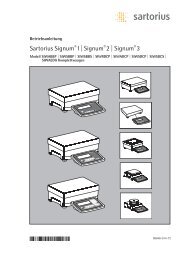
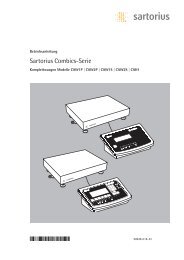
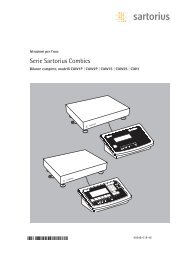
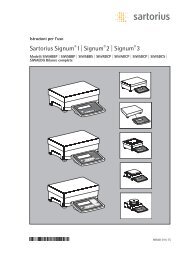
Sartorius Combics 3 - 11spr.
Sartorius Combics 3 - 11spr.
Sartorius Combics 3 - 11spr.

You also want an ePaper? Increase the reach of your titles
YUMPU automatically turns print PDFs into web optimized ePapers that Google loves.
§ Connect the cable to the weighing platform as follows:<br />
– Expose approximately 5 cm (2 inches) of the isolated wires for installation.<br />
– Remove the casing from approximately 1 cm (1/2 inch) of the wires and attach ferrules to<br />
the wire ends.<br />
– Fit the ferrite ferrule over all wires.<br />
– Attach the wires securely to the screw terminals.<br />
Pin Assignments:<br />
No. Signal name Meaning<br />
1 BR_POS Bridge supply voltage (+)<br />
2 SENSE_POS Sense (+)<br />
Bridge supply voltage<br />
3 OUT_POS Measuring voltage positive<br />
4 OUT_NEG Measuring voltage negative<br />
5 SENSE_NEG Sense (–)<br />
Bridge supply voltage<br />
6 BR_NEG Bridge supply voltage (–)<br />
!Please refer to the data sheet or operating instructions for the load cell or weighing platform<br />
in question for details on the assignment of wire colors to signals.<br />
Isolate any lines that are not used.<br />
Weighing platforms with 4-conductor technology:<br />
!If a load receptor that uses 4-conductor technology is connected, connect wire 1<br />
(BR_POS) to wire 2 (SENSE_POS) and wire 6 (BR_NEG) to wire 5 (SENSE_NEG).<br />
Connecting the <strong>Combics</strong> to AC Power<br />
§ Check the voltage rating and the plug design.<br />
$ The indicator is powered by an external power supply.<br />
§ Use only original <strong>Sartorius</strong> power supplies:<br />
– YPS02-X.. for use within the hazardous area.<br />
– YPS02-XV24 24V industrial power module for use within the hazardous area.<br />
Note: Install both cables so that they are stationary<br />
(Devices suitable for flexible cable installation available on request.)<br />
– YPS02-Z.. for use outside the hazardous area.<br />
Connecting the External Rechargeable Battery Pack<br />
– The model YRB02-X external explosion-protected rechargeable battery pack can be<br />
installed within the hazardous area.<br />
Connecting Electronic Peripheral Devices<br />
§ Make absolutely sure to unplug the indicator from AC power before you connect or disconnect<br />
a peripheral device (printer or PC) to or from the interface port.<br />
Grounding (Earthing) Using an Equipotential Bonding Conductor<br />
§ Connect the CIXS using a grounding cable (equipotential bonding conductor not part of<br />
the equipment supplied) to the main grounding terminal. In addition, the metal housing<br />
of the power supply is grounded by the protective grounding conductor of the power<br />
cable. The metal housing of the weighing platform is connected to the braided shield of<br />
the AC adapter (power supply).<br />
Warmup Time<br />
To ensure accurate results, the indicator must warm up for 30 minutes before operation.<br />
Only after this time will the indicator have reached the required operating temperature.<br />
Using Equipment Verified as Legal Measuring Instruments in the EU*<br />
$ Make sure to allow the equipment to warm up for at least 24 hours after initial connection<br />
to AC power or after a relatively long power outage.<br />
* including the Signatories of the Agreement on the European Economic Area<br />
7