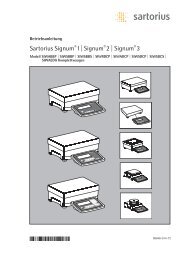
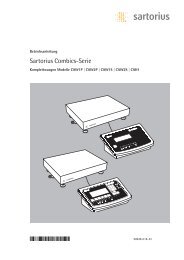
Sartorius Combics 3 - 11spr.
Sartorius Combics 3 - 11spr.
Sartorius Combics 3 - 11spr.

Create successful ePaper yourself
Turn your PDF publications into a flip-book with our unique Google optimized e-Paper software.
6<br />
Installing the Weighing Platform<br />
The connecting cable should be installed by a certified technician who has received specialized<br />
training from <strong>Sartorius</strong>.<br />
!Installation work that affects the IP67 protection rating must be performed with extreme<br />
care.<br />
!Any installation work that does not conform to the instructions in this manual will result<br />
in forfeiture of all claims under the manufacturer’s warranty.<br />
!Always make sure the equipment is disconnected from power before performing any<br />
installation, maintenance or repair work.<br />
!An IP67-protected cable gland is installed on the indicator at the factory.<br />
§ To open the indicator, remove the four screws from the front panel and remove the panel.<br />
§ Use the connecting cable from the weighing platform to connect the indicator.<br />
!The cable gland is installed at the factory. Please use extreme caution when performing<br />
any work on the equipment that affects this cable gland. Use a torque wrench and<br />
tighten the cable gland to 5 Nm.<br />
§ Prepare and install the cable as follows:<br />
– Route the cable through the cable gland.<br />
– Close and tighten the cable gland in accordance with the applicable regulations.<br />
– Remove the insulation from a section of the cable end (see illustration). The shielding (1)<br />
must have contact with the clamps (2).<br />
– Expose approx. 15 cm (6 inches) of the individually isolated wires (3) for installation.<br />
– Route the cable through the cable gland.<br />
– It is important to make sure that the shield is in contact with the clamps, because the<br />
shield provides the ground connection for the cable.