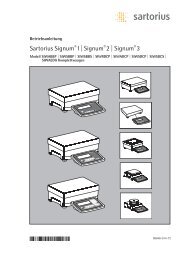
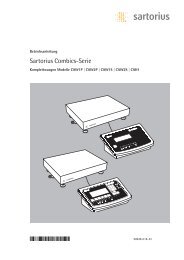
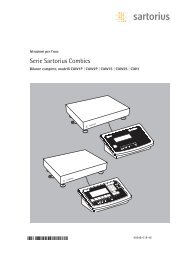
Sartorius Combics 3 - 11spr.
Sartorius Combics 3 - 11spr.
Sartorius Combics 3 - 11spr.

Create successful ePaper yourself
Turn your PDF publications into a flip-book with our unique Google optimized e-Paper software.
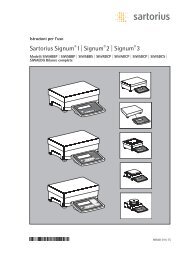
Unpacking the Indicator<br />
§ After unpacking the equipment, please<br />
check it immediately for any external<br />
damage.<br />
$ If you detect any damage, proceed as<br />
directed in the chapter entitled “Care<br />
and Maintenance,” under “Safety<br />
Inspection.”<br />
$ Save the box and all parts of the packaging<br />
for any future transport. Before<br />
packing your equipment, unplug all<br />
connected cables to prevent damage.<br />
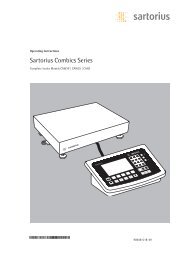
Equipment Supplied<br />
– Indicator<br />
– Operating instructions<br />
– Special accessories as listed on the bill<br />
of delivery, if ordered<br />
Installation Instructions<br />
1) Connecting a weighing platform to the<br />
<strong>Combics</strong> indicator:<br />
see the page after next.<br />
2) Configuring the A/D converter:<br />
see the chapter entitled “Service” in the<br />
operating instructions to configure the<br />
following:<br />
– Trade | Standard<br />
– Weighing capacity, readability<br />
– Calibration weight<br />
– mV/V | Entering geographical data<br />
– Linearization, calibration/adjustment<br />
Overview of equipment for use in hazardous areas:<br />
4<br />
Getting Started<br />
Ex zone 1, 2, 20, 21, 22 (hazardous area) Non-Ex area (safe area)<br />
Indicator with weighing platform<br />
3) Adjusting the weighing platform:<br />
see the section entitled “Calibration and<br />
Adjustment” in the operating instructions.<br />
4) Configuring application programs:<br />
see the enclosed instruction manual for<br />
application programs.<br />
5) Connecting an interface, printer or Alibi<br />
memory:<br />
see “Pin Assignment Charts” in the<br />
operating instructions.<br />
6) Activating the interface, printer or Alibi<br />
memory in the indicator Setup menu:<br />
refer to the operating instructions and<br />
configure the following for COM1/2:<br />
– Printout format<br />
– Printed lines/areas for the particular<br />
printer<br />
7) You may use the RS-422/RS-485<br />
interface connector on COM2 only if<br />
the RS-232 interface connector is not<br />
plugged into COM2. In other words, it is<br />
NOT permitted to have a simultaneous<br />
electrical connection of both the<br />
RS-232 and RS-422/485 on COM2.<br />
24 V module Power supply Battery pack 24 V module Power supply<br />
(110 V–230 V) (110 V–230 V)<br />
Installation<br />
Choose a location that is not subject to<br />
the following negative influences:<br />
– Heat (heater or direct sunlight)<br />
– Drafts from open windows and doors<br />
– Extreme vibrations during weighing<br />
– Excessive moisture<br />
Conditioning the Indicator<br />
Moisture in the air can condense on the<br />
surfaces of a cold indicator whenever<br />
it is brought into a substantially warmer<br />
place. If you transfer the indicator to<br />
a warmer area, make sure to condition it<br />
for about 2 hours at room temperature,<br />
leaving it unplugged from AC power.<br />
Indicator not In Use<br />
Switch off the equipment when not in<br />
use.<br />
Seal on Indicators Verified for Use<br />
in Legal Metrology in the EU*<br />
A control seal in the form of a sticker<br />
with the “<strong>Sartorius</strong>” logo has been<br />
affixed to the indicator following<br />
verification. This seal will be irreparably<br />
damaged if you attempt to remove it.<br />
If this seal is damaged or removed, verification<br />
will become null and void and<br />
the indicator will have to be re-verified.<br />
* including the Signatories of the Agreement<br />
on the European Economic Area<br />
Zener barrier PC<br />
or converter