
You also want an ePaper? Increase the reach of your titles
YUMPU automatically turns print PDFs into web optimized ePapers that Google loves.
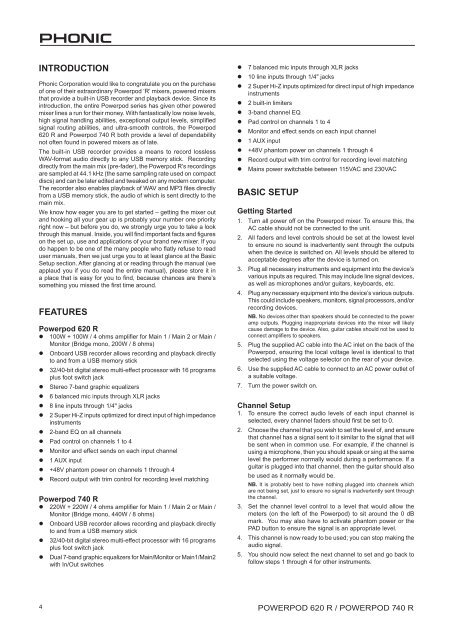
INTRODUCTIONPhonic Corporation would like to congratulate you on the purchaseof one of their extraordinary <strong>Powerpod</strong> ‘R’ mixers, powered mixersthat provide a built-in USB recorder and playback device. Since itsintroduction, the entire <strong>Powerpod</strong> series has given other poweredmixer lines a run for their money. With fantastically low noise levels,high signal handling abilities, exceptional output levels, simplifiedsignal routing abilities, and ultra-smooth controls, the <strong>Powerpod</strong><strong>620</strong> R and <strong>Powerpod</strong> <strong>740</strong> R both provide a level of dependabilitynot often found in powered mixers as of late.The built-in USB recorder provides a means to record losslessWAV-format audio directly to any USB memory stick. Recordingdirectly from the main mix (pre-fader), the <strong>Powerpod</strong> R’s recordingsare sampled at 44.1 kHz (the same sampling rate used on compactdiscs) and can be later edited and tweaked on any modern computer.The recorder also enables playback of WAV and MP3 files directlyfrom a USB memory stick, the audio of which is sent directly to themain mix.We know how eager you are to get started – getting the mixer outand hooking all your gear up is probably your number one priorityright now – but before you do, we strongly urge you to take a lookthrough this manual. Inside, you will find important facts and figureson the set up, use and applications of your brand new mixer. If youdo happen to be one of the many people who flatly refuse to readuser manuals, then we just urge you to at least glance at the BasicSetup section. After glancing at or reading through the manual (weapplaud you if you do read the entire manual), please store it ina place that is easy for you to find, because chances are there’ssomething you missed the first time around.FEATURES<strong>Powerpod</strong> <strong>620</strong> R• 100W + 100W / 4 ohms amplifier for Main 1 / Main 2 or Main /Monitor (Bridge mono, 200W / 8 ohms)• Onboard USB recorder allows recording and playback directlyto and from a USB memory stick• 32/40-bit digital stereo multi-effect processor with 16 programsplus foot switch jack• Stereo 7-band graphic equalizers• 6 balanced mic inputs through XLR jacks• 8 line inputs through 1/4" jacks• 2 Super Hi-Z inputs optimized for direct input of high impedanceinstruments• 2-band EQ on all channels• Pad control on channels 1 to 4• Monitor and effect sends on each input channel• 1 AUX input• +48V phantom power on channels 1 through 4• Record output with trim control for recording level matching<strong>Powerpod</strong> <strong>740</strong> R• 220W + 220W / 4 ohms amplifier for Main 1 / Main 2 or Main /Monitor (Bridge mono, 440W / 8 ohms)• Onboard USB recorder allows recording and playback directlyto and from a USB memory stick• 32/40-bit digital stereo multi-effect processor with 16 programsplus foot switch jack• Dual 7-band graphic equalizers for Main/Monitor or Main1/Main2with In/Out switches• 7 balanced mic inputs through XLR jacks• 10 line inputs through 1/4" jacks• 2 Super Hi-Z inputs optimized for direct input of high impedanceinstruments• 2 built-in limiters• 3-band channel EQ• Pad control on channels 1 to 4• Monitor and effect sends on each input channel• 1 AUX input• +48V phantom power on channels 1 through 4• Record output with trim control for recording level matching• Mains power switchable between 115VAC and 230VACBASIC SETUPGetting Started1. Turn all power off on the <strong>Powerpod</strong> mixer. To ensure this, theAC cable should not be connected to the unit.2. All faders and level controls should be set at the lowest levelto ensure no sound is inadvertently sent through the outputswhen the device is switched on. All levels should be altered toacceptable degrees after the device is turned on.3. Plug all necessary instruments and equipment into the device’svarious inputs as required. This may include line signal devices,as well as microphones and/or guitars, keyboards, etc.4. Plug any necessary equipment into the device’s various outputs.This could include speakers, monitors, signal processors, and/orrecording devices.NB. No devices other than speakers should be connected to the poweramp outputs. Plugging inappropriate devices into the mixer will likelycause damage to the device. Also, guitar cables should not be used toconnect amplifiers to speakers.5. Plug the supplied AC cable into the AC inlet on the back of the<strong>Powerpod</strong>, ensuring the local voltage level is identical to thatselected using the voltage selector on the rear of your device.6. Use the supplied AC cable to connect to an AC power outlet ofa suitable voltage.7. Turn the power switch on.Channel Setup1. To ensure the correct audio levels of each input channel isselected, every channel faders should first be set to 0.2. Choose the channel that you wish to set the level of, and ensurethat channel has a signal sent to it similar to the signal that willbe sent when in common use. For example, if the channel isusing a microphone, then you should speak or sing at the samelevel the performer normally would during a performance. If aguitar is plugged into that channel, then the guitar should alsobe used as it normally would be.NB. It is probably best to have nothing plugged into channels whichare not being set, just to ensure no signal is inadvertently sent throughthe channel.3. Set the channel level control to a level that would allow themeters (on the left of the <strong>Powerpod</strong>) to sit around the 0 dBmark. You may also have to activate phantom power or thePAD button to ensure the signal is an appropriate level.4. This channel is now ready to be used; you can stop making theaudio signal.5. You should now select the next channel to set and go back tofollow steps 1 through 4 for other instruments.POWERPOD <strong>620</strong> R / POWERPOD <strong>740</strong> R