Chapter 3: Using the Graphical User Interface (GUI) - Allied Telesis
Chapter 3: Using the Graphical User Interface (GUI) - Allied Telesis
Chapter 3: Using the Graphical User Interface (GUI) - Allied Telesis
You also want an ePaper? Increase the reach of your titles
YUMPU automatically turns print PDFs into web optimized ePapers that Google loves.
<strong>Using</strong> <strong>the</strong> <strong>Graphical</strong> <strong>User</strong> <strong>Interface</strong> (<strong>GUI</strong>) on AT-9900 Series Switches 3-9<br />
Software Version 2.9.1/3.2.1<br />
C613-03130-00 REV A<br />
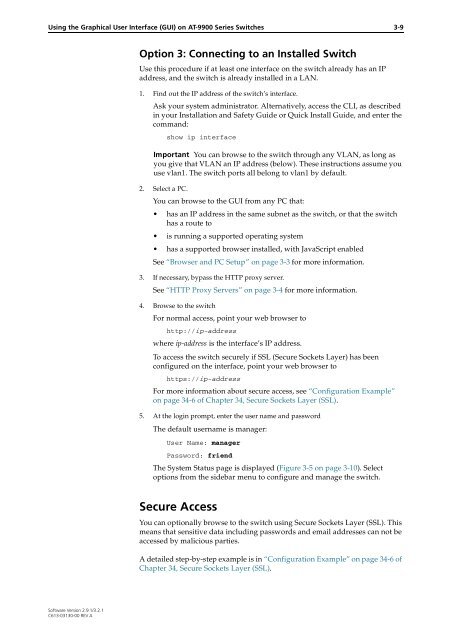
Option 3: Connecting to an Installed Switch<br />
Use this procedure if at least one interface on <strong>the</strong> switch already has an IP<br />
address, and <strong>the</strong> switch is already installed in a LAN.<br />
1. Find out <strong>the</strong> IP address of <strong>the</strong> switch’s interface.<br />
Ask your system administrator. Alternatively, access <strong>the</strong> CLI, as described<br />
in your Installation and Safety Guide or Quick Install Guide, and enter <strong>the</strong><br />
command:<br />
show ip interface<br />
Important You can browse to <strong>the</strong> switch through any VLAN, as long as<br />
you give that VLAN an IP address (below). These instructions assume you<br />
use vlan1. The switch ports all belong to vlan1 by default.<br />
2. Select a PC.<br />
You can browse to <strong>the</strong> <strong>GUI</strong> from any PC that:<br />
has an IP address in <strong>the</strong> same subnet as <strong>the</strong> switch, or that <strong>the</strong> switch<br />
has a route to<br />
is running a supported operating system<br />
has a supported browser installed, with JavaScript enabled<br />
See “Browser and PC Setup” on page 3-3 for more information.<br />
3. If necessary, bypass <strong>the</strong> HTTP proxy server.<br />
See “HTTP Proxy Servers” on page 3-4 for more information.<br />
4. Browse to <strong>the</strong> switch<br />
For normal access, point your web browser to<br />
http://ip-address<br />
where ip-address is <strong>the</strong> interface’s IP address.<br />
To access <strong>the</strong> switch securely if SSL (Secure Sockets Layer) has been<br />
configured on <strong>the</strong> interface, point your web browser to<br />
https://ip-address<br />
For more information about secure access, see “Configuration Example”<br />
on page 34-6 of <strong>Chapter</strong> 34, Secure Sockets Layer (SSL).<br />
5. At <strong>the</strong> login prompt, enter <strong>the</strong> user name and password<br />
The default username is manager:<br />
<strong>User</strong> Name: manager<br />
Password: friend<br />
The System Status page is displayed (Figure 3-5 on page 3-10). Select<br />
options from <strong>the</strong> sidebar menu to configure and manage <strong>the</strong> switch.<br />
Secure Access<br />
You can optionally browse to <strong>the</strong> switch using Secure Sockets Layer (SSL). This<br />
means that sensitive data including passwords and email addresses can not be<br />
accessed by malicious parties.<br />
A detailed step-by-step example is in “Configuration Example” on page 34-6 of<br />
<strong>Chapter</strong> 34, Secure Sockets Layer (SSL).


