Create successful ePaper yourself
Turn your PDF publications into a flip-book with our unique Google optimized e-Paper software.
Service Information System (SIS)<br />
Purpose<br />
Service Information System (SIS) allows you to access parts and service information on<br />
all Caterpillar products shipped since 1977. SIS contains over 420,000 graphics,<br />
837,140 part numbers and information equal to 30,100 paper documents.<br />
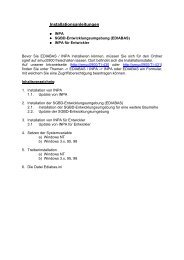
Installation Instructions for SIS DVD 2005B<br />
Step 1 Close all other programs running under Windows including any antivirus<br />
software.<br />
Step 2 Place the STW Software CD into the CD-ROM/DVD drive. The installation<br />
should start automatically. However, some computers are not configured to<br />
automatically launch programs when a CD is inserted into the CD-ROM/DVD drive. If it<br />
does launch, proceed to step 8. If it does not launch, continue below.<br />
Step 3 From the Windows Desktop, select the “Start” button on the taskbar.<br />
Step 4 Select the “Run” option.<br />
Step 5 In the Run window, type the drive letter belonging to your CD-ROM/DVD drive in<br />
the open box (usually D), type a colon (:), then click on the “Browse…” button.<br />
Step 6 Highlight the “setup.exe” file by clicking on it, and then click on the “Open”<br />
button.<br />
Step 7 Click on the “OK” button.<br />
Windows 2000 issues, or Windows XP:<br />
Users need a minimum of Power Users permission on Windows 2000 to install the<br />
SIS software. However, users should have Administrators permission to install all the<br />
necessary third party software like Internet Explorer.<br />
To use SIS 2005B on Windows 2000 workstations, users must be part of the<br />
Administrators group, Power Users group, or Users group.<br />
Only the user who installs SIS will be able to uninstall SIS.<br />
Step 8 In the Choose Setup Language dialog box, select the installation language to be<br />
used during the install process by clicking on the drop-down list arrow. When the<br />
desired language has been selected, click on the “OK” button.<br />
Illustration 48: Choose Setup Language dialog box<br />
70