(Yield) Maps - StellarSupport - John Deere
(Yield) Maps - StellarSupport - John Deere (Yield) Maps - StellarSupport - John Deere
JDOffice 1.2 Info Drawn Beyond the Farm Map The boundary of the farm is determined by each of the fields within that farm. JDOffice calculates this boundary by drawing a line around the entire farm, using an edge of each field. You have the option to field this geophysical references either just within your farm, or for a certain distance beyond it. If you would like to see TIGER data only within this calculated circle, enter zero (0) as the number of miles. If you type in anything other than that, you will see the data not only in the farm, but for the number of miles you entered. Regardless of the number you enter, the data will automatically be cut off at the edge of the county, as it is saved by county. Colors The different geographic features will be displayed in the colors selected here. Change a color on the Tiger data: 1. From the File menu, select Preferences. 2. Select the TIGER tab. 3. Click on the arrow next to the sample color you want to change. 4. In the color chooser that appears, click on a new color. • Click Other to create a custom color. 5. Click OK to save your changes and close the Preferences. 44
Setup Setup contains all of the information that pertains to your farming operation. Data contained on these tabs will be transferred to the GreenStar Display to populate the pick lists; this section controls what you see - and don’t see - on the pick lists. In addition, it is used as the building blocks for all other commands you want to use in JDOffice. It is important to take the time to enter the data on each of these tabs. Although it may be a time-consuming task, most of it only has to be done once. Taking the time to do it prior to working in the fields will save you a great deal of time later in the Unload Editor as you try to unload your PC Card. (JDOffice will force you to edit the data that does not correspond to the setup data.) To Open the Setup tabs: 1. From the Startup screen, click on the Setup icon. 2. Select one of the Setup tabbed sections. • Or select one of the tabbed sections from the Setup menu. To make it easier to use, Setup is divided into multiple sections: Farms/Fields, Products, Resources, Tasks, Capital Assets/Destinations, Contracts, Flags/Legends, Define Types, and Clients. Although Soil Type to Rate Table is listed under Setup, it is not one of the Setup tabs. Refer to “Soil Type to Rate Table” on page 203 for a thorough explanation of its function. 45
- Page 2 and 3: This material is the property of De
- Page 4 and 5: JDOffice 1.2 Crop Setup ...........
- Page 6 and 7: JDOffice 1.2 Actual vs. Normalized
- Page 8 and 9: JDOffice 1.2 Print the Management Z
- Page 10 and 11: JDOffice 1.2 JDOffice System Requir
- Page 12 and 13: JDOffice 1.2 Before the installatio
- Page 14 and 15: JDOffice 1.2 Back to return to the
- Page 16 and 17: JDOffice 1.2 Activating JDOffice Ev
- Page 18 and 19: JDOffice 1.2 JDOffice Tutorial The
- Page 20 and 21: JDOffice 1.2 12
- Page 22 and 23: JDOffice 1.2 Why NOW is a Good Time
- Page 24 and 25: JDOffice 1.2 Backup/Restore the Dat
- Page 26 and 27: JDOffice 1.2 • In the window, dou
- Page 28 and 29: JDOffice 1.2 Help with JDOffice As
- Page 30 and 31: JDOffice 1.2 Support from John Deer
- Page 32 and 33: JDOffice 1.2 JDOffice Directory Str
- Page 34 and 35: JDOffice 1.2 Minimize, Maximize, Re
- Page 36 and 37: JDOffice 1.2 28
- Page 38 and 39: JDOffice 1.2 General Preferences PC
- Page 40 and 41: JDOffice 1.2 Dates Preferences Seas
- Page 42 and 43: JDOffice 1.2 The default legend det
- Page 44 and 45: JDOffice 1.2 on the top layer of th
- Page 46 and 47: JDOffice 1.2 Processing Preferences
- Page 48 and 49: JDOffice 1.2 Boundary Preferences C
- Page 50 and 51: JDOffice 1.2 Export Preferences Yie
- Page 54 and 55: JDOffice 1.2 The system will rememb
- Page 56 and 57: JDOffice 1.2 Farms/Fields The Farms
- Page 58 and 59: JDOffice 1.2 • The first 20 chara
- Page 60 and 61: JDOffice 1.2 is an area of land whi
- Page 62 and 63: JDOffice 1.2 2. Select the Crop tab
- Page 64 and 65: JDOffice 1.2 5. Place the mouse cur
- Page 66 and 67: JDOffice 1.2 Add a fertilizer: 1. F
- Page 68 and 69: JDOffice 1.2 Product Application. I
- Page 70 and 71: JDOffice 1.2 6. In Carrier, select
- Page 72 and 73: JDOffice 1.2 4. In Carrier name, en
- Page 74 and 75: JDOffice 1.2 box; if you want a dif
- Page 76 and 77: JDOffice 1.2 the Define Types tab (
- Page 78 and 79: JDOffice 1.2 Irrigation, Harvest, a
- Page 80 and 81: JDOffice 1.2 Task Wizard The Task W
- Page 82 and 83: JDOffice 1.2 JDOffice provides ten
- Page 84 and 85: JDOffice 1.2 2. Select the Other ta
- Page 86 and 87: JDOffice 1.2 new display name. •
- Page 88 and 89: JDOffice 1.2 Contracts When an agre
- Page 90 and 91: JDOffice 1.2 3. Click New. 4. In Co
- Page 92 and 93: JDOffice 1.2 Flags/Legends Flag Set
- Page 94 and 95: JDOffice 1.2 The boxes start and en
- Page 96 and 97: JDOffice 1.2 To create a two color
- Page 98 and 99: JDOffice 1.2 • Soil Type Map: Aut
- Page 100 and 101: JDOffice 1.2 automatically adjust t
JDOffice 1.2<br />
Info Drawn Beyond the Farm Map<br />
The boundary of the farm is determined by each of the fields within that farm. JDOffice<br />
calculates this boundary by drawing a line around the entire farm, using an edge of each<br />
field.<br />
You have the option to field this geophysical references either just within your farm, or for<br />
a certain distance beyond it. If you would like to see TIGER data only within this calculated<br />
circle, enter zero (0) as the number of miles. If you type in anything other than that, you will<br />
see the data not only in the farm, but for the number of miles you entered. Regardless of<br />
the number you enter, the data will automatically be cut off at the edge of the county, as it<br />
is saved by county.<br />
Colors<br />
The different geographic features will be displayed in the colors selected here.<br />
Change a color on the Tiger data:<br />
1. From the File menu, select Preferences.<br />
2. Select the TIGER tab.<br />
3. Click on the arrow next to the sample color you want to change.<br />
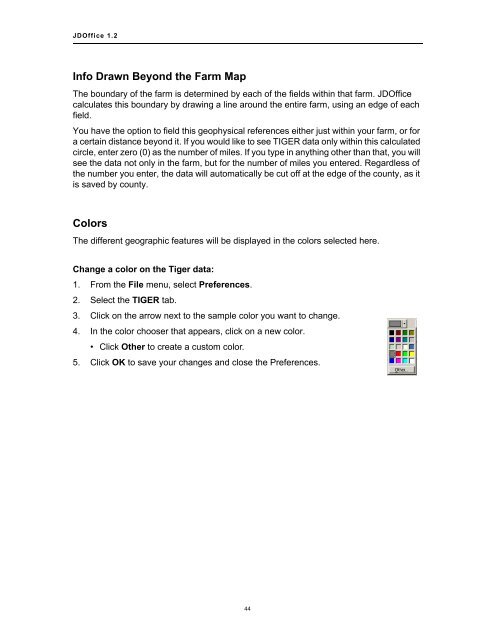
4. In the color chooser that appears, click on a new color.<br />
• Click Other to create a custom color.<br />
5. Click OK to save your changes and close the Preferences.<br />
44


