
You also want an ePaper? Increase the reach of your titles
YUMPU automatically turns print PDFs into web optimized ePapers that Google loves.
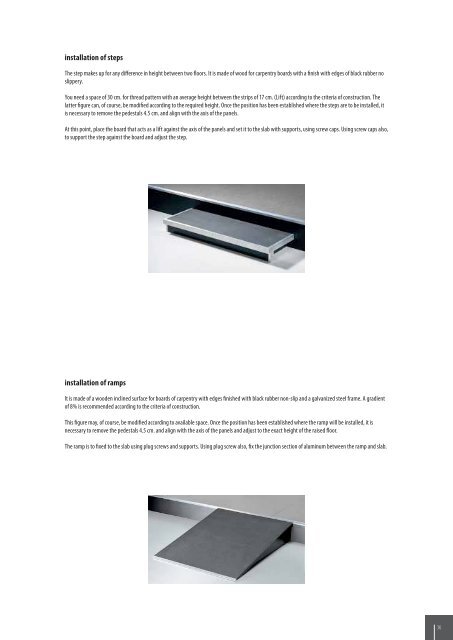
installation of steps<br />
The step makes up for any difference in height between two <strong>floors</strong>. It is made of wood for carpentry boards with a finish with edges of black rubber no<br />
slippery.<br />
You need a space of 30 cm. for thread pattern with an average height between the strips of 17 cm. (Lift) according to the criteria of construction. The<br />
latter figure can, of course, be modified according to the required height. Once the position has been established where the steps are to be installed, it<br />
is necessary to remove the pedestals 4.5 cm. and align with the axis of the panels.<br />
At this point, place the board that acts as a lift against the axis of the panels and set it to the slab with supports, using screw caps. Using screw caps also,<br />
to support the step against the board and adjust the step.<br />
installation of ramps<br />
It is made of a wooden inclined surface for boards of carpentry with edges finished with black rubber non-slip and a galvanized steel frame. A gradient<br />
of 8% is recommended according to the criteria of construction.<br />
This figure may, of course, be modified according to available space. Once the position has been established where the ramp will be installed, it is<br />
necessary to remove the pedestals 4.5 cm. and align with the axis of the panels and adjust to the exact height of the <strong>raised</strong> floor.<br />
The ramp is to fixed to the slab using plug screws and supports. Using plug screw also, fix the junction section of aluminum between the ramp and slab.<br />
36