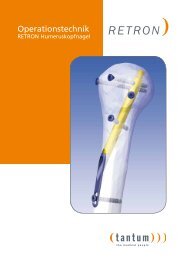
PLATON-Locking-Nail-System - tantum AG
PLATON-Locking-Nail-System - tantum AG
PLATON-Locking-Nail-System - tantum AG

Create successful ePaper yourself
Turn your PDF publications into a flip-book with our unique Google optimized e-Paper software.
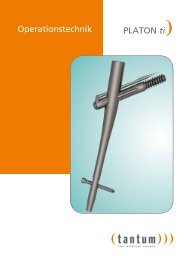
<strong>tantum</strong> · OR manual <strong>PLATON</strong><br />
Fig.27<br />
Fig.28<br />
16<br />
4. The length of the distal locking screw is determined<br />
with the help of the scale you find on the shaft<br />
of the drill (Art. No. 203-120), and with the<br />
Guide Sleeve (Art. No. 202-104) (Fig. 25a).<br />
Note:<br />
Alternatively the length of the distal locking screw is<br />
to be determinated with the Screw Gauge (Art. No.<br />
208-110).<br />
Tipp:<br />
If the drill hits the lateral cortex noticeably, the length<br />
of the distal locking screw is equivalent to the measured<br />
length +5mm (witch is nearly equivalent to<br />
the thickniss of the medial cortex).<br />
In order to avoid incorrect measuring, precaution<br />
must be taken so the Guide Sleeve is adjacent to the<br />
bone and the guide sleeve is properly connected to<br />
the tissue protection sleeve. If the measured length is<br />
between two markings, the longer version of the<br />
distal <strong>Locking</strong> screw is to be chosen.<br />
5. Place the 6.2mm <strong>Locking</strong> Screw in its defined<br />
length onto the Screwdriver SW 5 (Art. No. 201-100).<br />
Insert the screw through the Tissue Protection Sleeve<br />
ensuring that the Tissue Protection Sleeve is adjacent<br />
to the bone (Fig. 27).<br />
The screw should not be fastened too tightly to the<br />
cortex. The marking on the shaft of the screwdriver<br />
serves as an orientation. If the screw is aligned with<br />
the sleeve´s rim, the screw head is positioned tension<br />
free at the lateral cortex. Verification of correct placement<br />
by x-ray in two planes and documentation (Fig.<br />
28).<br />
Removal of the Tissue Protection Sleeve and<br />
Targeting Device from the <strong>PLATON</strong>-<strong>Nail</strong> by loosening<br />
the <strong>Nail</strong> Holding Screw (Art. No. 204-110) under use of<br />
the Universal Joint Screwdriver (Art. No. 201-110) and<br />
the screw driver bit (Art. No. 201-115).