Tools for High Pressure Product FITOK EN
Tools for High Pressure Product FITOK EN
Tools for High Pressure Product FITOK EN

You also want an ePaper? Increase the reach of your titles
YUMPU automatically turns print PDFs into web optimized ePapers that Google loves.
<strong>Tools</strong> and Installation Instructions A-106<br />
Installation Instructions<br />
Installation of 20D Series Connections<br />
Fittings<br />
For Tube O.D. 1/8", 1/4", 3/8" and 1/2"<br />
Without Manual Presetting Tool<br />
1. Put the nut and ferrules onto the tubing in fixed sequence and orientation (Fig. 1).<br />
2. Insert the tubing into the fitting body or the valve. Finger tight the nut. Make sure that the tubing rests firmly on the<br />
shoulder of the fitting body or the valve (Fig. 2).<br />
3. Mark the nut and the fitting body or the valve (Fig. 3).<br />
4. Hold the fitting body or the valve steady. Refer to Table 1 to tighten the nut with a wrench to the specified number of<br />
turns, noting that the number of turns varies <strong>for</strong> different types of tubing (Fig. 4).<br />
Tube Type/Specification<br />
1/8"<br />
1/4"<br />
3/8"<br />
1/2"<br />
Fig.1<br />
Fig.3<br />
Table 1<br />
T15A/ T20D Tubing T20M Tubing<br />
1 1/4 turns<br />
1 1/2 turns<br />
1 1/2 turns<br />
1 1/2 turns<br />
/<br />
1 3/4 turns<br />
1 1/2 turns<br />
/<br />
Shoulder<br />
Fig.2<br />
Fig.4<br />
Tubing<br />
Part Number<br />
Crossover Charts<br />
Sour Service<br />
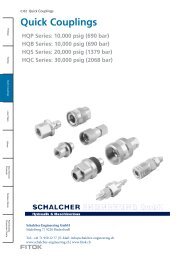
Subsea Valves Valves Quick Couplings<br />
<strong>Product</strong>s<br />
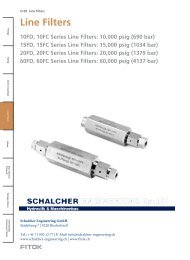
Line Filters<br />
Tubing