SAS 9.3 Web Applications: Clustering - Index of - SAS
SAS 9.3 Web Applications: Clustering - Index of - SAS
SAS 9.3 Web Applications: Clustering - Index of - SAS
Create successful ePaper yourself
Turn your PDF publications into a flip-book with our unique Google optimized e-Paper software.
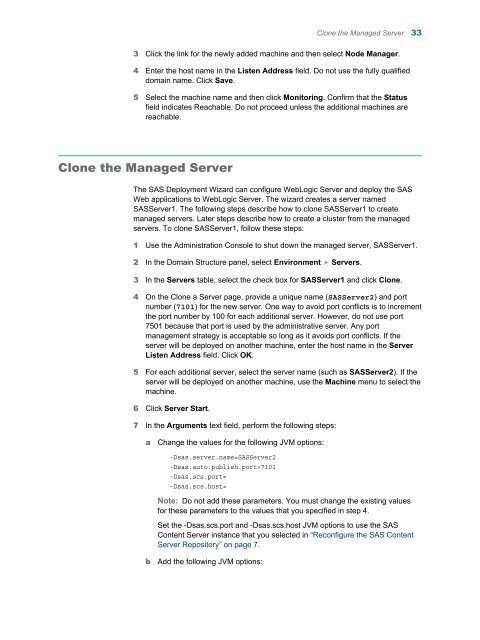
3 Click the link for the newly added machine and then select Node Manager.<br />
4 Enter the host name in the Listen Address field. Do not use the fully qualified<br />
domain name. Click Save.<br />
5 Select the machine name and then click Monitoring. Confirm that the Status<br />
field indicates Reachable. Do not proceed unless the additional machines are<br />
reachable.<br />
Clone the Managed Server<br />
The <strong>SAS</strong> Deployment Wizard can configure <strong>Web</strong>Logic Server and deploy the <strong>SAS</strong><br />
<strong>Web</strong> applications to <strong>Web</strong>Logic Server. The wizard creates a server named<br />
<strong>SAS</strong>Server1. The following steps describe how to clone <strong>SAS</strong>Server1 to create<br />
managed servers. Later steps describe how to create a cluster from the managed<br />
servers. To clone <strong>SAS</strong>Server1, follow these steps:<br />
1 Use the Administration Console to shut down the managed server, <strong>SAS</strong>Server1.<br />
2 In the Domain Structure panel, select Environment � Servers.<br />
3 In the Servers table, select the check box for <strong>SAS</strong>Server1 and click Clone.<br />
4 On the Clone a Server page, provide a unique name (<strong>SAS</strong>Server2) and port<br />
number (7101) for the new server. One way to avoid port conflicts is to increment<br />
the port number by 100 for each additional server. However, do not use port<br />
7501 because that port is used by the administrative server. Any port<br />
management strategy is acceptable so long as it avoids port conflicts. If the<br />
server will be deployed on another machine, enter the host name in the Server<br />
Listen Address field. Click OK.<br />
5 For each additional server, select the server name (such as <strong>SAS</strong>Server2). If the<br />
server will be deployed on another machine, use the Machine menu to select the<br />
machine.<br />
6 Click Server Start.<br />
7 In the Arguments text field, perform the following steps:<br />
a Change the values for the following JVM options:<br />
-Dsas.server.name=<strong>SAS</strong>Server2<br />
-Dsas.auto.publish.port=7101<br />
-Dsas.scs.port=<br />
-Dsas.scs.host=<br />
Note: Do not add these parameters. You must change the existing values<br />
for these parameters to the values that you specified in step 4.<br />
Set the -Dsas.scs.port and -Dsas.scs.host JVM options to use the <strong>SAS</strong><br />
Content Server instance that you selected in “Reconfigure the <strong>SAS</strong> Content<br />
Server Repository” on page 7.<br />
b Add the following JVM options:<br />
Clone the Managed Server 33


