Big Country Zambezi Twin / Double Drawer System for Double Cab Pick-up trucks Ranger/Hilux/D-Max/Amarok
Heavy duty pickup twin drawer storage systems, dual floor drawers to help organise your load. Fitting instructions showing how to install to your pick-up truck. Get a tailored fit lockable drawer system for your Ford Ranger, Toyota Hilux, Isuzu D-Max or VW Amarok pickup.
Heavy duty pickup twin drawer storage systems, dual floor drawers to help organise your load. Fitting instructions showing how to install to your pick-up truck. Get a tailored fit lockable drawer system for your Ford Ranger, Toyota Hilux, Isuzu D-Max or VW Amarok pickup.

You also want an ePaper? Increase the reach of your titles
YUMPU automatically turns print PDFs into web optimized ePapers that Google loves.
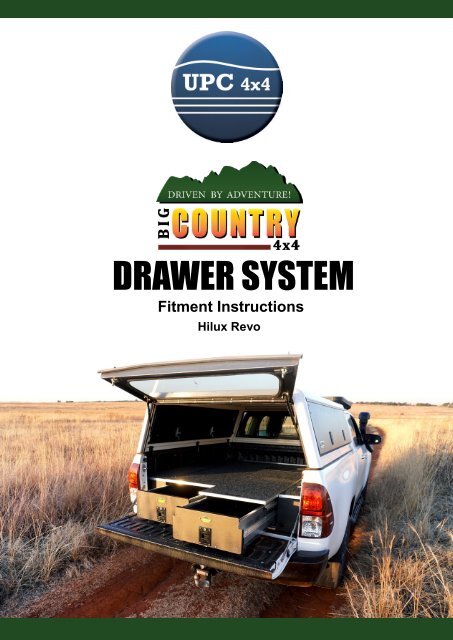
DRAWER SYSTEM<br />
Fitment Instructions<br />
<strong>Hilux</strong> Revo
NOTE:<br />
Your Roller drawer unit comes to you partially assembled, you<br />
ne only to fix the frame into your vehicle and fit the side<br />
brackets, drawers and floors. All parts required, including the<br />
drawer keys, are inside the drawers.<br />
WHATS IN THE BOX<br />
Right Trim Panel<br />
Side Panel<br />
S<strong>up</strong>port Brackets<br />
Left Trim Panel<br />
Push Locks<br />
TOOLS REQUIRED<br />
• 17, 16, 13 and 10mm spanners and sockets<br />
• 9 mm drill bit.<br />
• Electric drill<br />
• Large star screw driver
Step 1<br />
Remove the drawers and slide the<br />
fridge roller out.<br />
Step 2<br />
Use the provided M6 x 12 hex bolts and<br />
Nyloc nuts to fit the Side Panel S<strong>up</strong>port<br />
Brackets and Trim Panels to the left and<br />
right side of the drawer body frame.<br />
Step 3<br />
Lift the frame and carefully position into the vehicle. The unit must be central across the<br />
vehicle. Use the Carpeted Side Panels and Carpeted wood top as a guide to position it<br />
correctly.<br />
Step 4<br />
Once centered, you can mark where you will drill<br />
using the pre-cut holes in the top hat. Check under<br />
the vehicle BEFORE drilling to ensure you won’t<br />
hit tank pipes and other fittings. If need be, drill new<br />
holes in the top hat. The drilled holes must line <strong>up</strong><br />
with the higher portion of the corrugated floor pan.
Step 5<br />
Drill through where indicated with an 8mm drill bit and use the provided M8 x 40 bolts, large<br />
washers and nuts to secure the unit at the front and rear. Re-insert the drawers and slide out<br />
plat<strong>for</strong>m.<br />
Step 6<br />
Locate the pre-drilled holes on both sides of the <strong>Drawer</strong>s and Slide out plat<strong>for</strong>m, use the<br />
provided fasteners to secure their respective stoppers.<br />
<strong>Drawer</strong>s<br />
Slide Out Plat<strong>for</strong>m
Step 7<br />
Replace the Wood Top. Make sure that slide out plat<strong>for</strong>m is not hindered in any way, then<br />
tighten all remaining M6 Button Head Cap screws.<br />
Contact Us<br />
sales@<strong>up</strong>country4x4.co.uk<br />
019 86 87 51 71<br />
www.<strong>up</strong>country4x4.co.uk