

Installation Instructions - Snap-on Equipment
Installation Instructions - Snap-on Equipment
Installation Instructions - Snap-on Equipment

You also want an ePaper? Increase the reach of your titles
YUMPU automatically turns print PDFs into web optimized ePapers that Google loves.
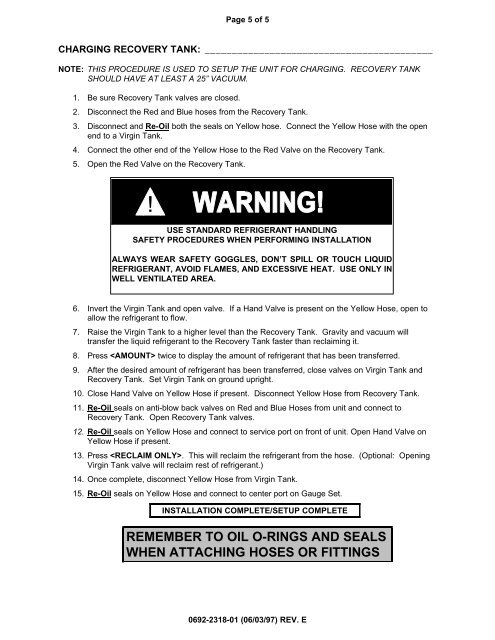
Page 5 of 5CHARGING RECOVERY TANK: __________________________________________NOTE: THIS PROCEDURE IS USED TO SETUP THE UNIT FOR CHARGING. RECOVERY TANKSHOULD HAVE AT LEAST A 25” VACUUM.1. Be sure Recovery Tank valves are closed.2. Disc<strong>on</strong>nect the Red and Blue hoses from the Recovery Tank.3. Disc<strong>on</strong>nect and Re-Oil both the seals <strong>on</strong> Yellow hose. C<strong>on</strong>nect the Yellow Hose with the openend to a Virgin Tank.4. C<strong>on</strong>nect the other end of the Yellow Hose to the Red Valve <strong>on</strong> the Recovery Tank.5. Open the Red Valve <strong>on</strong> the Recovery Tank.!USE STANDARD REFRIGERANT HANDLINGSAFETY PROCEDURES WHEN PERFORMING INSTALLATIONALWAYS WEAR SAFETY GOGGLES, DON’T SPILL OR TOUCH LIQUIDREFRIGERANT, AVOID FLAMES, AND EXCESSIVE HEAT. USE ONLY INWELL VENTILATED AREA.6. Invert the Virgin Tank and open valve. If a Hand Valve is present <strong>on</strong> the Yellow Hose, open toallow the refrigerant to flow.7. Raise the Virgin Tank to a higher level than the Recovery Tank. Gravity and vacuum willtransfer the liquid refrigerant to the Recovery Tank faster than reclaiming it.8. Press twice to display the amount of refrigerant that has been transferred.9. After the desired amount of refrigerant has been transferred, close valves <strong>on</strong> Virgin Tank andRecovery Tank. Set Virgin Tank <strong>on</strong> ground upright.10. Close Hand Valve <strong>on</strong> Yellow Hose if present. Disc<strong>on</strong>nect Yellow Hose from Recovery Tank.11. Re-Oil seals <strong>on</strong> anti-blow back valves <strong>on</strong> Red and Blue Hoses from unit and c<strong>on</strong>nect toRecovery Tank. Open Recovery Tank valves.12. Re-Oil seals <strong>on</strong> Yellow Hose and c<strong>on</strong>nect to service port <strong>on</strong> fr<strong>on</strong>t of unit. Open Hand Valve <strong>on</strong>Yellow Hose if present.13. Press . This will reclaim the refrigerant from the hose. (Opti<strong>on</strong>al: OpeningVirgin Tank valve will reclaim rest of refrigerant.)14. Once complete, disc<strong>on</strong>nect Yellow Hose from Virgin Tank.15. Re-Oil seals <strong>on</strong> Yellow Hose and c<strong>on</strong>nect to center port <strong>on</strong> Gauge Set.INSTALLATION COMPLETE/SETUP COMPLETEREMEMBER TO OIL O-RINGS AND SEALSWHEN ATTACHING HOSES OR FITTINGS0692-2318-01 (06/03/97) REV. E


