

(jeb@oscalemag.com). - O Scale Trains Magazine Online
(jeb@oscalemag.com). - O Scale Trains Magazine Online
(jeb@oscalemag.com). - O Scale Trains Magazine Online

Create successful ePaper yourself
Turn your PDF publications into a flip-book with our unique Google optimized e-Paper software.
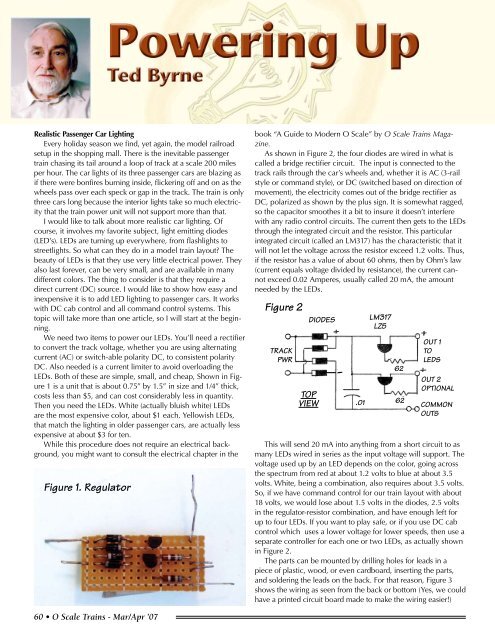
Realistic Passenger Car LightingEvery holiday season we find, yet again, the model railroadsetup in the shopping mall. There is the inevitable passengertrain chasing its tail around a loop of track at a scale 200 milesper hour. The car lights of its three passenger cars are blazing asif there were bonfires burning inside, flickering off and on as thewheels pass over each speck or gap in the track. The train is onlythree cars long because the interior lights take so much electricitythat the train power unit will not support more than that.I would like to talk about more realistic car lighting. Ofcourse, it involves my favorite subject, light emitting diodes(LED’s). LEDs are turning up everywhere, from flashlights tostreetlights. So what can they do in a model train layout? Thebeauty of LEDs is that they use very little electrical power. Theyalso last forever, can be very small, and are available in manydifferent colors. The thing to consider is that they require adirect current (DC) source. I would like to show how easy andinexpensive it is to add LED lighting to passenger cars. It workswith DC cab control and all <strong>com</strong>mand control systems. Thistopic will take more than one article, so I will start at the beginning.We need two items to power our LEDs. You’ll need a rectifierto convert the track voltage, whether you are using alternatingcurrent (AC) or switch-able polarity DC, to consistent polarityDC. Also needed is a current limiter to avoid overloading theLEDs. Both of these are simple, small, and cheap, Shown in Figure1 is a unit that is about 0.75” by 1.5” in size and 1/4” thick,costs less than $5, and can cost considerably less in quantity.Then you need the LEDs. White (actually bluish white) LEDsare the most expensive color, about $1 each. Yellowish LEDs,that match the lighting in older passenger cars, are actually lessexpensive at about $3 for ten.While this procedure does not require an electrical background,you might want to consult the electrical chapter in theFigure 1. Regulatorbook “A Guide to Modern O <strong>Scale</strong>” by O <strong>Scale</strong> <strong>Trains</strong> <strong>Magazine</strong>.As shown in Figure 2, the four diodes are wired in what iscalled a bridge rectifier circuit. The input is connected to thetrack rails through the car’s wheels and, whether it is AC (3-railstyle or <strong>com</strong>mand style), or DC (switched based on direction ofmovement), the electricity <strong>com</strong>es out of the bridge rectifier asDC, polarized as shown by the plus sign. It is somewhat ragged,so the capacitor smoothes it a bit to insure it doesn’t interferewith any radio control circuits. The current then gets to the LEDsthrough the integrated circuit and the resistor. This particularintegrated circuit (called an LM317) has the characteristic that itwill not let the voltage across the resistor exceed 1.2 volts. Thus,if the resistor has a value of about 60 ohms, then by Ohm’s law(current equals voltage divided by resistance), the current cannotexceed 0.02 Amperes, usually called 20 mA, the amountneeded by the LEDs.Figure 2TRACKPWRDIODESTOPVIEW.01LM317LZ5OUT 1TOLEDSOUT 2OPTIONALCOMMONOUTSThis will send 20 mA into anything from a short circuit to asmany LEDs wired in series as the input voltage will support. Thevoltage used up by an LED depends on the color, going acrossthe spectrum from red at about 1.2 volts to blue at about 3.5volts. White, being a <strong>com</strong>bination, also requires about 3.5 volts.So, if we have <strong>com</strong>mand control for our train layout with about18 volts, we would lose about 1.5 volts in the diodes, 2.5 voltsin the regulator-resistor <strong>com</strong>bination, and have enough left forup to four LEDs. If you want to play safe, or if you use DC cabcontrol which uses a lower voltage for lower speeds, then use aseparate controller for each one or two LEDs, as actually shownin Figure 2.The parts can be mounted by drilling holes for leads in apiece of plastic, wood, or even cardboard, inserting the parts,and soldering the leads on the back. For that reason, Figure 3shows the wiring as seen from the back or bottom (Yes, we couldhave a printed circuit board made to make the wiring easier!)626260 • O <strong>Scale</strong> <strong>Trains</strong> - Mar/Apr ’07


