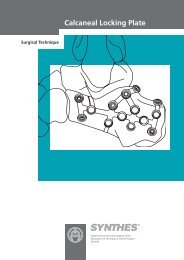
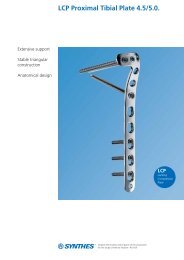
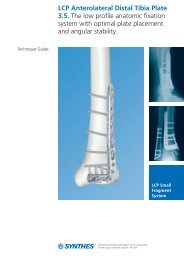
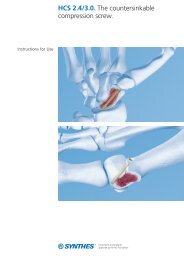
LCP Distal Tibia Plate
LCP Distal Tibia Plate
LCP Distal Tibia Plate
- No tags were found...

You also want an ePaper? Increase the reach of your titles
YUMPU automatically turns print PDFs into web optimized ePapers that Google loves.
10Insert <strong>LCP</strong> locking screwsa. To insert the <strong>LCP</strong> locking screws mechanically, attach theTorque Limiter 1.5 Nm (511.770) to the power tool unit(Compact Air Drive 511.701 or Power Drive 530.100). Insertthe Hexagonal Screwdriver Shaft (314.030) or theScrewdriver Shaft Stardrive 3.5 (314.116) into the torquelimiter. Pick up the <strong>LCP</strong> locking screw and insert it intothe plate hole. To insert the screw, start the power tool unitslowly, increase the speed and then reduce again beforethe screw is fully tightened. The torque is automatically limitedand a clearly audible click signifies that the maximumlevel has been reached. Stop the power tool unitimmediately and disconnect from the screw.Note: Do not lock the screw at full speed as this risksdamaging the hexagonal or Stardrive recess, making implantremoval more difficult.Ensure that adequate cooling is provided when inserting fairlylong screws into thick cortical bone.With porous bone there is a risk that the <strong>LCP</strong> locking screwwill fail to follow the predrilled hole, resulting in a slightlyoblique hole during mechanical insertion of the screw withsubsequent partial loss of angular stability. In case ofporous bone, manual locking (with the handle for torquelimiter) of the screws is recommended to ensure betterguidance through the predrilled hole.1.5 Nm1.5 Nmb. To insert the <strong>LCP</strong> locking screws manually, attachthe torque limiter 1.5 Nm to the Handle for Torque Limiter(397.705) and insert the screwdriver shaft.Lock the <strong>LCP</strong> locking screws in the plate.10