Piper J-3 Cub Power 46 ARF+ Manual - Hangar 9
Piper J-3 Cub Power 46 ARF+ Manual - Hangar 9
Piper J-3 Cub Power 46 ARF+ Manual - Hangar 9
- No tags were found...
You also want an ePaper? Increase the reach of your titles
YUMPU automatically turns print PDFs into web optimized ePapers that Google loves.
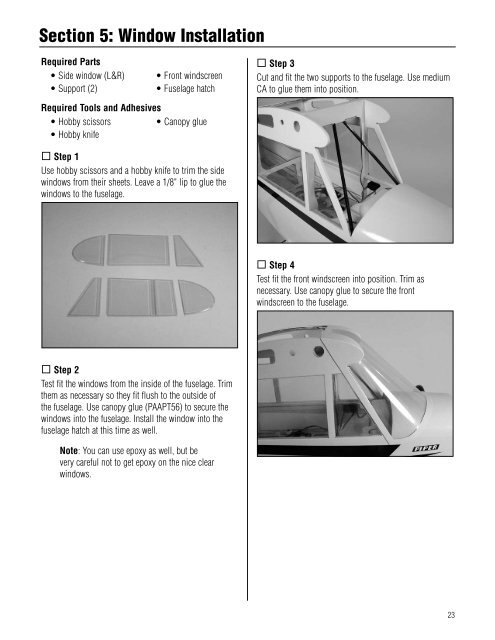
Section 5: Window InstallationRequired Parts• Side window (L&R)• Support (2)• Front windscreen• Fuselage hatch Step 3Cut and fit the two supports to the fuselage. Use mediumCA to glue them into position.Required Tools and Adhesives• Hobby scissors• Canopy glue• Hobby knife Step 1Use hobby scissors and a hobby knife to trim the sidewindows from their sheets. Leave a 1/8" lip to glue thewindows to the fuselage. Step 4Test fit the front windscreen into position. Trim asnecessary. Use canopy glue to secure the frontwindscreen to the fuselage. Step 2Test fit the windows from the inside of the fuselage. Trimthem as necessary so they fit flush to the outside ofthe fuselage. Use canopy glue (PAAPT56) to secure thewindows into the fuselage. Install the window into thefuselage hatch at this time as well.Note: You can use epoxy as well, but bevery careful not to get epoxy on the nice clearwindows.23


