NEW! Training videos demonstrating how to use the ORS system
NEW! Training videos demonstrating how to use the ORS system
NEW! Training videos demonstrating how to use the ORS system
- No tags were found...

You also want an ePaper? Increase the reach of your titles
YUMPU automatically turns print PDFs into web optimized ePapers that Google loves.
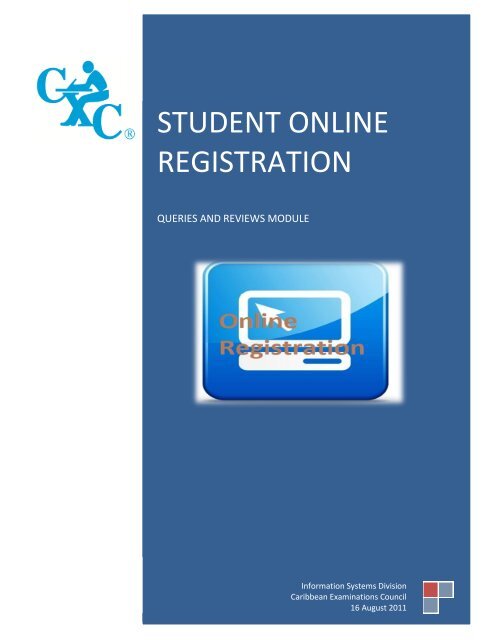
STUDENT ONLINEREGISTRATIONQUERIES AND REVIEWS MODULEInformation Systems DivisionCaribbean Examinations Council16 August 2011
LIST OF FIGURESFigure 1: Login Screen ................................................................................................................................... 4Figure 2: Selecting Query/Review Tab .......................................................................................................... 5Figure 3: Selecting Query Type/Review Screen ............................................................................................ 5Figure 4: Assigning Candidates <strong>to</strong> <strong>the</strong> Batch ................................................................................................. 7Figure 5: Assign Candidates <strong>to</strong> Batch But<strong>to</strong>n ................................................................................................ 8Figure 6: Assigned Candidates Screen .......................................................................................................... 8Figure 7: Import/Export Review Option ........................................................................................................ 9Figure 8: Forwarding Queries/Reviews Screen ............................................................................................. 93
STUDENT ONLINE REGISTRATIONQUERIES AND REVIEWS MODULELOGGING ON TO SYSTEMConnect <strong>to</strong> <strong>the</strong> internet.Type <strong>the</strong> URL as follows: http://ors.cxc.orgIn <strong>the</strong> displayed screen in Figure 1 below: Enter your assigned User Id. (NB: You should log on as Super User.) Enter your current Password. (NB: If you are a new <strong>use</strong>r you will be required <strong>to</strong>change your password.) Select <strong>the</strong> exam Period from <strong>the</strong> drop down list by clicking on <strong>the</strong> down arrow.Figure 1: Login ScreenAfter successfully logging on <strong>to</strong> <strong>the</strong> application <strong>the</strong> screen in Figure 2 is displayed.4
QUERIES AND REVIEWSFigure 2: Selecting Query/Review TabSelect <strong>the</strong> Query/Review tab as highlighted in Figure 2. The following screen isdisplayed:Figure 3: Selecting Query Type/Review Screen5
Read <strong>the</strong> instructions on <strong>the</strong> screen in Figure 3 before proceeding!!!You can create a new batch or add <strong>to</strong> an existing batch!!!If <strong>the</strong> candidate’s name is available you can search by First Name, Last Name or bothby keying <strong>the</strong> information in <strong>the</strong> appropriate fields.Select <strong>the</strong> Query Type/Review by clicking on <strong>the</strong>arrow, select from <strong>the</strong> list as s<strong>how</strong>n.drop downSelect <strong>the</strong> batch number by clicking on <strong>the</strong> drop down arrow .Select <strong>the</strong> New Batch option if you are creating a new batch. If <strong>the</strong> batch already existsselect <strong>the</strong> Batch Id. number from <strong>the</strong> list.NB: The batch number is au<strong>to</strong> generated, <strong>the</strong>refore <strong>the</strong> first batch may not necessarily bebatch one. Also, <strong>the</strong> sequence will not necessarily be in consecutive order.Click <strong>the</strong>but<strong>to</strong>n.The screen in Figure 4 is displayed.6
Figure 4: Assigning Candidates <strong>to</strong> <strong>the</strong> BatchSelect <strong>the</strong> candidate from <strong>the</strong> listing <strong>to</strong> be added <strong>to</strong> <strong>the</strong> batch by clicking <strong>the</strong>checkbox.Type <strong>the</strong> required information in <strong>the</strong> Query column.Assign <strong>the</strong> candidates <strong>to</strong> be queried or reviewed before proceeding <strong>to</strong><strong>the</strong> next page. Only data on <strong>the</strong> current page will be assigned.Note that all candidates will not be displayed on <strong>the</strong> current page. To display <strong>the</strong>additional candidates click on <strong>the</strong> page numbers as seen at in Figure 5 below.Scroll <strong>to</strong> <strong>the</strong> bot<strong>to</strong>m of <strong>the</strong> screen and click <strong>the</strong>but<strong>to</strong>n.7
Figure 5: Assign Candidates <strong>to</strong> Batch But<strong>to</strong>nOn selection of <strong>the</strong> Assign but<strong>to</strong>n <strong>the</strong> following message is s<strong>how</strong>n:Select OK <strong>to</strong> continue.You will notice that <strong>the</strong> candidates that were assigned are now listed at <strong>the</strong> <strong>to</strong>p of <strong>the</strong>form. The number of candidates within <strong>the</strong> batch is also reported. See Figure 6 below.Figure 6: Assigned Candidates Screen8
If any changes are made <strong>to</strong> <strong>the</strong> Query column you need <strong>to</strong> .You can remove any candidate from <strong>the</strong> assigned list by clicking <strong>the</strong>checkbox and<strong>the</strong>n select <strong>the</strong> but<strong>to</strong>n.You have <strong>the</strong> option <strong>to</strong> forward <strong>the</strong> Query/Reviews at this time. However, if morequeries are <strong>to</strong> be added just remember <strong>to</strong> save and you can return <strong>to</strong> this screen at a latertime and select <strong>the</strong> existing batch from <strong>the</strong> list.EXPORTING QUERIES/REVIEWSFigure 7: Import/Export Review OptionFrom <strong>the</strong> main menu select Import/Export tab.From <strong>the</strong> drop down list select Forward Reviews.The screen in Figure 8 is s<strong>how</strong>n.Figure 8: Forwarding Queries/Reviews Screen9
Read <strong>the</strong> instructions on <strong>the</strong> screen in Figure 8 before proceeding!!!Select <strong>the</strong> batches <strong>to</strong> be forwarded by clicking on <strong>the</strong> checkbox.Select <strong>the</strong>but<strong>to</strong>n <strong>to</strong> forward <strong>the</strong> batch <strong>to</strong> <strong>the</strong> Ministry.The following message below is s<strong>how</strong>n. Select OK <strong>to</strong> continue.If no batches has been selected <strong>the</strong> following message below is s<strong>how</strong>n. Select OK<strong>to</strong> continue.Once a batch has been selected and have been forwarded <strong>the</strong> following messagebelow is s<strong>how</strong>n. Select OK <strong>to</strong> continue.From <strong>the</strong> main menu select <strong>the</strong>tab <strong>to</strong> close <strong>the</strong> application.10