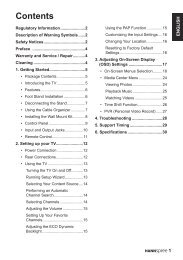
TABLE OF CONTENTS - Hannspree
TABLE OF CONTENTS - Hannspree
TABLE OF CONTENTS - Hannspree
- No tags were found...
You also want an ePaper? Increase the reach of your titles
YUMPU automatically turns print PDFs into web optimized ePapers that Google loves.
User’s ManualINSTALLATION INSTRUCTIONSINSTALLREMOVEFigure.1. Installing and Removing the BaseINSTALLATION:1. Turn the monitor over and set it upside down.2. Align the monitor to the slots on the stand.3. Pull the screw ring upwards, then turn the screw clockwise to secure. When the stand is securelyattached to the monitor, pull down the screw ring to flatten it with the base of the screw.4. Check the underside of the stand to ensure that the monitor has been firmly installed to the standand that the screws do not loosen.REMOVAL:1. Turn the monitor over and set it upside down.2. Turn the screw counterclockwise to loosen it.3. Detach the stand from the monitor.POWERPOWER SOURCE:1. Make sure that the power cord is the correct type required in your area.2. This LCD monitor has an Internal universal power supply that allows operation in either100/120V AC or 220/240V AC voltage area (No user adjustment is required.)3. Connect the AC-power cord one end to your LCD monitor’s AC-input socket, the other end towall-outlet.8


