


Create successful ePaper yourself
Turn your PDF publications into a flip-book with our unique Google optimized e-Paper software.
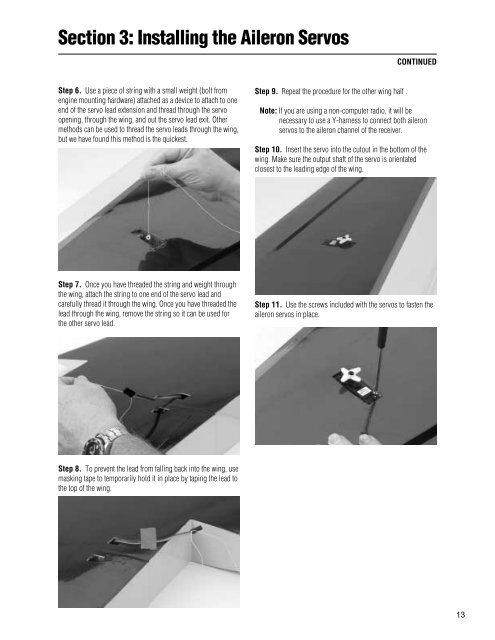
Section 3: Installing the Aileron ServosCONTINUEDStep 6. Use a piece of string with a small weight (bolt fromengine mounting hardware) attached as a device to attach to oneend of the servo lead extension and thread through the servoopening, through the wing, and out the servo lead exit. Othermethods can be used to thread the servo leads through the wing,but we have found this method is the quickest.Step 9. Repeat the procedure for the other wing half .Note: If you are using a non-computer radio, it will benecessary to use a Y-harness to connect both aileronservos to the aileron channel of the receiver.Step 10. Insert the servo into the cutout in the bottom of thewing. Make sure the output shaft of the servo is orientatedclosest to the leading edge of the wing.Step 7. Once you have threaded the string and weight throughthe wing, attach the string to one end of the servo lead andcarefully thread it through the wing. Once you have threaded thelead through the wing, remove the string so it can be used forthe other servo lead.Step 11. Use the screws included with the servos to fasten theaileron servos in place.Step 8. To prevent the lead from falling back into the wing, usemasking tape to temporarily hold it in place by taping the lead tothe top of the wing.13


