Create successful ePaper yourself
Turn your PDF publications into a flip-book with our unique Google optimized e-Paper software.
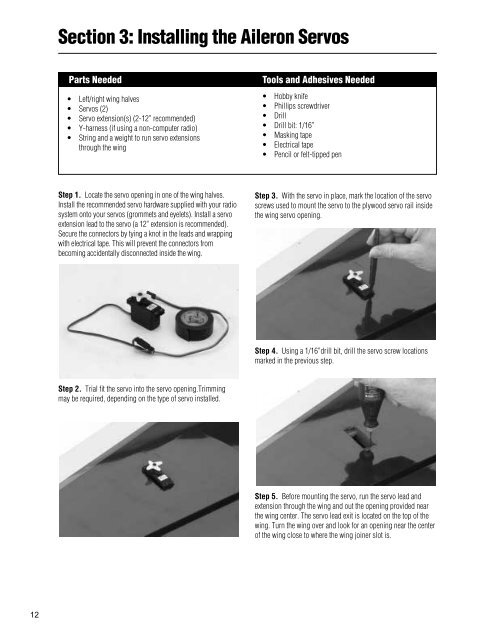
Section 3: Installing the Aileron ServosParts Needed• Left/right wing halves• Servos (2)• Servo extension(s) (2-12” recommended)• Y-harness (if using a non-computer radio)• String and a weight to run servo extensionsthrough the wingTools and Adhesives Needed• Hobby knife• Phillips screwdriver• Drill• Drill bit: 1/16”• Masking tape• Electrical tape• Pencil or felt-tipped penStep 1. Locate the servo opening in one of the wing halves.Install the recommended servo hardware supplied with your radiosystem onto your servos (grommets and eyelets). Install a servoextension lead to the servo (a 12” extension is recommended).Secure the connectors by tying a knot in the leads and wrappingwith electrical tape. This will prevent the connectors frombecoming accidentally disconnected inside the wing.Step 3. With the servo in place, mark the location of the servoscrews used to mount the servo to the plywood servo rail insidethe wing servo opening.Step 4. Using a 1/16”drill bit, drill the servo screw locationsmarked in the previous step.Step 2. Trial fit the servo into the servo opening.Trimmingmay be required, depending on the type of servo installed.Step 5. Before mounting the servo, run the servo lead andextension through the wing and out the opening provided nearthe wing center. The servo lead exit is located on the top of thewing. Turn the wing over and look for an opening near the centerof the wing close to where the wing joiner slot is.12


