AIR CONDITIONER - Heronhill Air Conditioning Ltd
AIR CONDITIONER - Heronhill Air Conditioning Ltd
AIR CONDITIONER - Heronhill Air Conditioning Ltd

You also want an ePaper? Increase the reach of your titles
YUMPU automatically turns print PDFs into web optimized ePapers that Google loves.
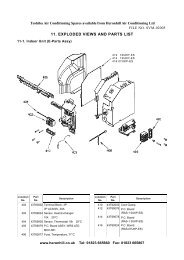
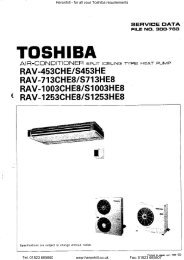
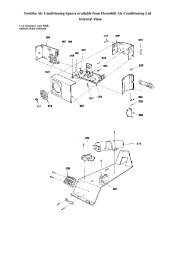
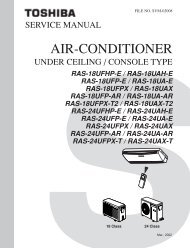
FILE NO. SVM-050208-4. Indoor Unit8-4-1. Installation place• A place which provides the spaces around theindoor unit as shown in the above diagram.• A place where there is no obstacle near the air inletand outlet.• A place that allows easy installation of the piping tothe outdoor unit.• A place which allows the front panel to be opened.8-4-2. Cutting a hole and mounting installationplateWhen installing the refrigerant pipes from the rear.CAUTION• Direct sunlight to the indoor unit's wirelessreceiver should be avoided.• The microprocessor in the indoor unit should notbe too close to RF noise sources.(For details, see the owner's manual.)The center of the pipehole is above the arrow.Fig. 8-4-2100 mmPipehole∅65 mm• A place where there are no obstacles such as acurtain that may block the signal from the indoorunit.• Do not install the remote control in a place exposedto direct sunlight or close to a heating source, suchas a stove.• Keep the remote control at least 1 m apart from thenearest TV set or stereo equipment. (This isnecessary to prevent image disturbances or noiseinterference.)• The location of the remote control should bedetermined as shown below.1. After determining the pipe hole position on themounting plate (A), drill the pipe hole (∅65 mm) ata slight downward slant to the outdoor side.NOTE• When drilling a wall that contains a metal lath, wirelath or metal plate, be sure to use a pipe hole brimring sold separately.For installation of the indoor unit, use the paper patternon the back.Indoor unit75°(Side view)7 m(Top view)Indoor unit5 m45°45°5 m* 7 m17085Hook6282.5ReceptionrangeRemotecontrolReceptionrange* : Axial distanceRemote controlPipe holeHookThreadHookPipe hole1InstallationplateFig. 8-4-1Indoor unitWeight7 Mounting screwFig. 8-4-3− 43 −