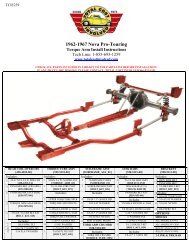
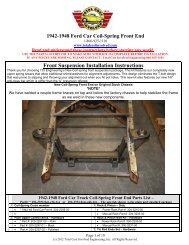
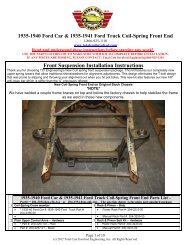
Coil-Over - Front End Suspension - Total Cost Involved
Coil-Over - Front End Suspension - Total Cost Involved
Coil-Over - Front End Suspension - Total Cost Involved
- No tags were found...

Create successful ePaper yourself
Turn your PDF publications into a flip-book with our unique Google optimized e-Paper software.
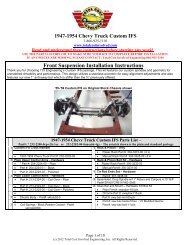
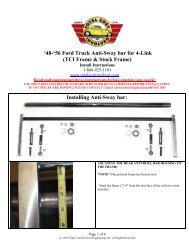
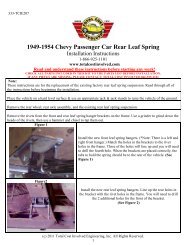
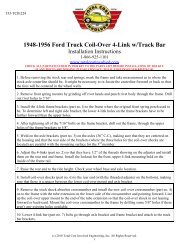
Note:( Please use a large bar and clamp to help finalize task)Next check to make sure that the cross member is 90 degrees to the top of theframe. This is critical for correct engine angle and lower A-arm angle.Corrections can be made by slightly trimming the front or rear edge of thecross member that contacts the bottom of the frame.Double check for square and tack weld all sides and on the bottom.Remove the locating plate and finishing welding all the way around, switchingfrom side to side so as to not build up to much heat. Don’t weld up the inside3/8 inch hole yet as it will be used to locate shock towers.The a-arm/shock tower bracket is mounted with the highest a-arm bolt slotforward and the lowest slot rearward.This is the built in anti-dive feature.Using a 3/8 inch bolt fasten the tower to the frame rail checking to make surebracket sets flat against the boxing plate.(c) 2011 <strong>Total</strong> <strong>Cost</strong> <strong>Involved</strong> Engineering, Inc. All Rights Reserved9