LX200 Landing Pad Installation Instructions - Starizona
LX200 Landing Pad Installation Instructions - Starizona
LX200 Landing Pad Installation Instructions - Starizona
- TAGS
- installation
- starizona

You also want an ePaper? Increase the reach of your titles
YUMPU automatically turns print PDFs into web optimized ePapers that Google loves.
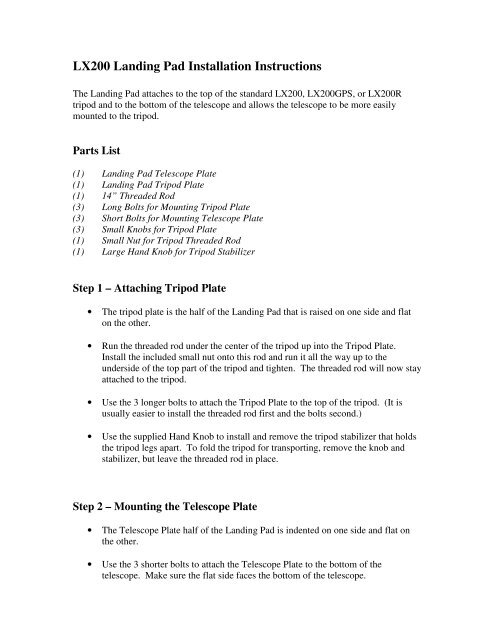
<strong>LX200</strong> <strong>Landing</strong> <strong>Pad</strong> <strong>Installation</strong> <strong>Instructions</strong>The <strong>Landing</strong> <strong>Pad</strong> attaches to the top of the standard <strong>LX200</strong>, <strong>LX200</strong>GPS, or <strong>LX200</strong>Rtripod and to the bottom of the telescope and allows the telescope to be more easilymounted to the tripod.Parts List(1) <strong>Landing</strong> <strong>Pad</strong> Telescope Plate(1) <strong>Landing</strong> <strong>Pad</strong> Tripod Plate(1) 14” Threaded Rod(3) Long Bolts for Mounting Tripod Plate(3) Short Bolts for Mounting Telescope Plate(3) Small Knobs for Tripod Plate(1) Small Nut for Tripod Threaded Rod(1) Large Hand Knob for Tripod StabilizerStep 1 – Attaching Tripod Plate• The tripod plate is the half of the <strong>Landing</strong> <strong>Pad</strong> that is raised on one side and flaton the other.• Run the threaded rod under the center of the tripod up into the Tripod Plate.Install the included small nut onto this rod and run it all the way up to theunderside of the top part of the tripod and tighten. The threaded rod will now stayattached to the tripod.• Use the 3 longer bolts to attach the Tripod Plate to the top of the tripod. (It isusually easier to install the threaded rod first and the bolts second.)• Use the supplied Hand Knob to install and remove the tripod stabilizer that holdsthe tripod legs apart. To fold the tripod for transporting, remove the knob andstabilizer, but leave the threaded rod in place.Step 2 – Mounting the Telescope Plate• The Telescope Plate half of the <strong>Landing</strong> <strong>Pad</strong> is indented on one side and flat onthe other.• Use the 3 shorter bolts to attach the Telescope Plate to the bottom of thetelescope. Make sure the flat side faces the bottom of the telescope.