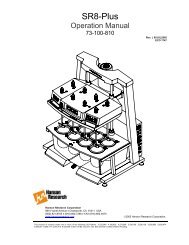
Lambda 20/Lambda 40 Installation and Maintenance Guide - VTP UP
Lambda 20/Lambda 40 Installation and Maintenance Guide - VTP UP
Lambda 20/Lambda 40 Installation and Maintenance Guide - VTP UP

You also want an ePaper? Increase the reach of your titles
YUMPU automatically turns print PDFs into web optimized ePapers that Google loves.
<strong>Maintenance</strong>5. Remove the lamp assembly from the bracket by slackening the thumbscrew<strong>and</strong> pulling the lamp mount vertically upward.Save the thumbscrew for use with the new lamp assembly.6. Unpack the new lamp assembly, taking care to hold it only by the metal mountto prevent fingermarks on the bulb.7. Slip the slot at the base of the lamp mount over the stud on the bracket in thelamp compartment <strong>and</strong> then secure with the thumbscrew.8. Carefully push the ceramic connector firmly onto the pins on the base of thelamp.9. Wipe the bulb with a soft cloth moistened with alcohol to remove dirt, sincethis would otherwise be burned in when the lamp is hot.10. Replace the lamp baffle using the reverse of the procedure described in step 3.11. Replace the lamp compartment cover.This completes the halogen lamp replacement procedure.Deuterium Lamp ReplacementIf the lamp burns out, or indicates falling energy after prolonged use, you shouldreplace the lamp.Replacement lamp assemblies are provided complete with prealigned mounts (PartNumber B<strong>20</strong>00501).59