Heat-A-Ventlite® (with Night Light) - Home Depot
Heat-A-Ventlite® (with Night Light) - Home Depot
Heat-A-Ventlite® (with Night Light) - Home Depot

Create successful ePaper yourself
Turn your PDF publications into a flip-book with our unique Google optimized e-Paper software.
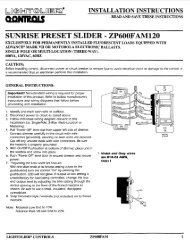
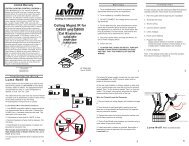
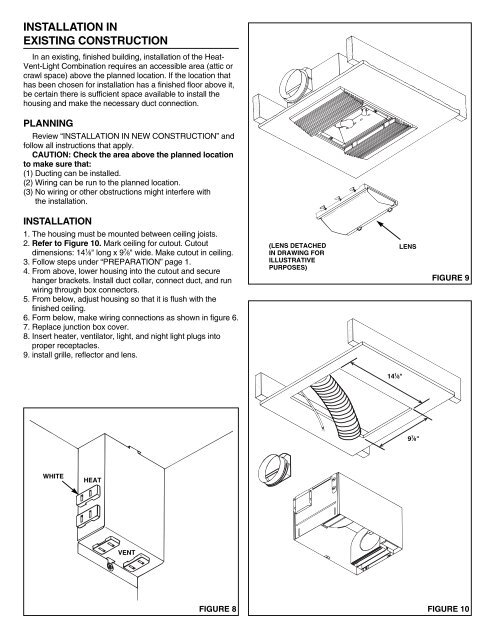
INSTALLATION INEXISTING CONSTRUCTIONIn an existing, finished building, installation of the <strong>Heat</strong>-Vent-<strong>Light</strong> Combination requires an accessible area (attic orcrawl space) above the planned location. If the location thathas been chosen for installation has a finished floor above it,be certain there is sufficient space available to install thehousing and make the necessary duct connection.PLANNINGReview “INSTALLATION IN NEW CONSTRUCTION” andfollow all instructions that apply.CAUTION: Check the area above the planned locationto make sure that:(1) Ducting can be installed.(2) Wiring can be run to the planned location.(3) No wiring or other obstructions might interfere <strong>with</strong>the installation.INSTALLATION1. The housing must be mounted between ceiling joists.2. Refer to Figure 10. Mark ceiling for cutout. Cutoutdimensions: 14 1 ⁄8" long x 9 7 ⁄8" wide. Make cutout in ceiling.3. Follow steps under “PREPARATION” page 1.4. From above, lower housing into the cutout and securehanger brackets. Install duct collar, connect duct, and runwiring through box connectors.5. From below, adjust housing so that it is flush <strong>with</strong> thefinished ceiling.6. Form below, make wiring connections as shown in figure 6.7. Replace junction box cover.8. Insert heater, ventilator, light, and night light plugs intoproper receptacles.9. install grille, reflector and lens.(LENS DETACHEDIN DRAWING FORILLUSTRATIVEPURPOSES)LENSFIGURE 914 1 ⁄8"9 7 ⁄8"WHITEHEATVENTFIGURE 8 FIGURE 10