Foxit PhantomPDF User Manual - Parent Directory
Foxit PhantomPDF User Manual - Parent Directory
Foxit PhantomPDF User Manual - Parent Directory
- No tags were found...
You also want an ePaper? Increase the reach of your titles
YUMPU automatically turns print PDFs into web optimized ePapers that Google loves.
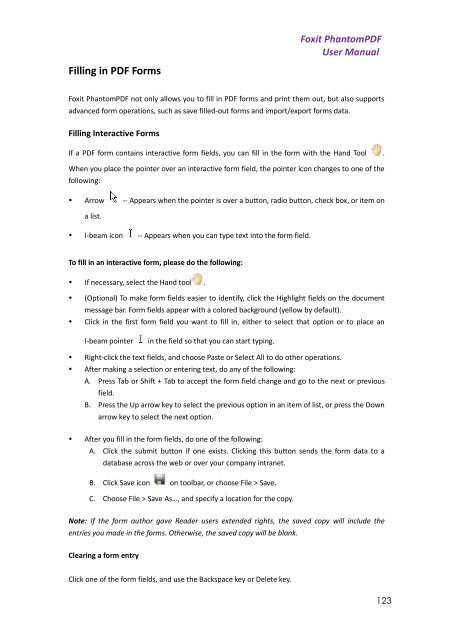
<strong>Foxit</strong> <strong>PhantomPDF</strong><strong>User</strong> <strong>Manual</strong>Filling in PDF Forms<strong>Foxit</strong> <strong>PhantomPDF</strong> not only allows you to fill in PDF forms and print them out, but also supportsadvanced form operations, such as save filled-out forms and import/export forms data.Filling Interactive FormsIf a PDF form contains interactive form fields, you can fill in the form with the Hand Tool .When you place the pointer over an interactive form field, the pointer icon changes to one of thefollowing:• Arrow -- Appears when the pointer is over a button, radio button, check box, or item ona list.• I-beam icon -- Appears when you can type text into the form field.To fill in an interactive form, please do the following:• If necessary, select the Hand tool .• (Optional) To make form fields easier to identify, click the Highlight fields on the documentmessage bar. Form fields appear with a colored background (yellow by default).• Click in the first form field you want to fill in, either to select that option or to place anI-beam pointerin the field so that you can start typing.• Right-click the text fields, and choose Paste or Select All to do other operations.• After making a selection or entering text, do any of the following:A. Press Tab or Shift + Tab to accept the form field change and go to the next or previousfield.B. Press the Up arrow key to select the previous option in an item of list, or press the Downarrow key to select the next option.• After you fill in the form fields, do one of the following:A. Click the submit button if one exists. Clicking this button sends the form data to adatabase across the web or over your company intranet.B. Click Save icon on toolbar, or choose File > Save.C. Choose File > Save As…, and specify a location for the copy.Note: If the form author gave Reader users extended rights, the saved copy will include theentries you made in the forms. Otherwise, the saved copy will be blank.Clearing a form entryClick one of the form fields, and use the Backspace key or Delete key.123


