User Guide Product(range) - Neopost
User Guide Product(range) - Neopost
User Guide Product(range) - Neopost

Create successful ePaper yourself
Turn your PDF publications into a flip-book with our unique Google optimized e-Paper software.
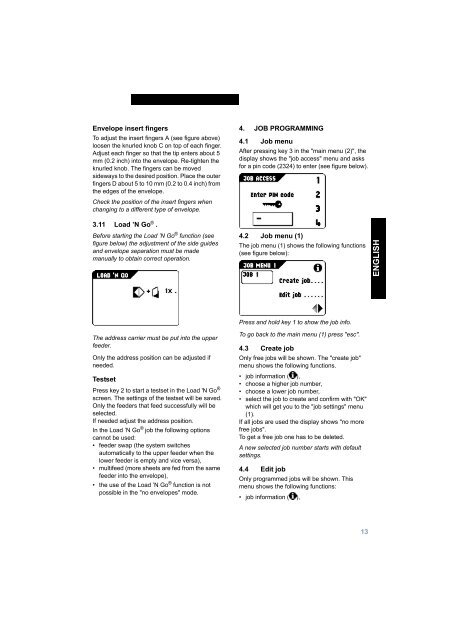
Envelope insert fingersTo adjust the insert fingers A (see figure above)loosen the knurled knob C on top of each finger.Adjust each finger so that the tip enters about 5mm (0.2 inch) into the envelope. Re-tighten theknurled knob. The fingers can be movedsideways to the desired position. Place the outerfingers D about 5 to 10 mm (0.2 to 0.4 inch) fromthe edges of the envelope.Check the position of the insert fingers whenchanging to a different type of envelope.4. JOB PROGRAMMING4.1 Job menuAfter pressing key 3 in the "main menu (2)", thedisplay shows the "job access" menu and asksfor a pin code (2324) to enter (see figure below).3.11 Load ’N Go ® .Before starting the Load ’N Go ® function (seefigure below) the adjustment of the side guidesand envelope separation must be mademanually to obtain correct operation.4.2 Job menu (1)The job menu (1) shows the following functions(see figure below):ENGLISHPress and hold key 1 to show the job info.The address carrier must be put into the upperfeeder.Only the address position can be adjusted ifneeded.TestsetPress key 2 to start a testset in the Load 'N Go ®screen. The settings of the testset will be saved.Only the feeders that feed successfully will beselected.If needed adjust the address position.In the Load ’N Go ® job the following optionscannot be used:• feeder swap (the system switchesautomatically to the upper feeder when thelower feeder is empty and vice versa),• multifeed (more sheets are fed from the samefeeder into the envelope),• the use of the Load ’N Go ® function is notpossible in the "no envelopes" mode.To go back to the main menu (1) press "esc".4.3 Create jobOnly free jobs will be shown. The "create job"menu shows the following functions.• job information ( ),• choose a higher job number,• choose a lower job number,• select the job to create and confirm with "OK"which will get you to the "job settings" menu(1).If all jobs are used the display shows "no morefree jobs".To get a free job one has to be deleted.A new selected job number starts with defaultsettings.4.4 Edit jobOnly programmed jobs will be shown. Thismenu shows the following functions:• job information ( ),13