Administrator's Guide - Kerio Software Archive
Administrator's Guide - Kerio Software Archive Administrator's Guide - Kerio Software Archive
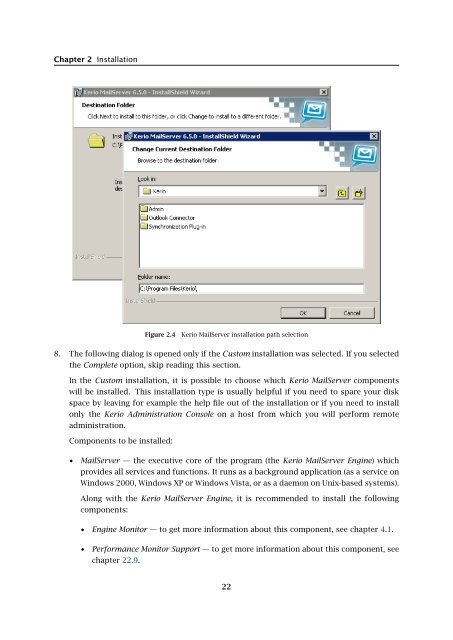
Chapter 2 InstallationFigure 2.4Kerio MailServer installation path selection8. The following dialog is opened only if the Custom installation was selected. If you selectedthe Complete option, skip reading this section.In the Custom installation, it is possible to choose which Kerio MailServer componentswill be installed. This installation type is usually helpful if you need to spare your diskspace by leaving for example the help file out of the installation or if you need to installonly the Kerio Administration Console on a host from which you will perform remoteadministration.Components to be installed:• MailServer — the executive core of the program (the Kerio MailServer Engine) whichprovides all services and functions. It runs as a background application (as a service onWindows 2000, Windows XP or Windows Vista, or as a daemon on Unix-based systems).Along with the Kerio MailServer Engine, it is recommended to install the followingcomponents:• Engine Monitor — to get more information about this component, see chapter 4.1.• Performance Monitor Support — to get more information about this component, seechapter 22.9.22
2.4 InstallationFigure 2.5Custom installation• Administration Console — the Kerio MailServer’s administration interface. It can be alsoinstalled separately and used for remote administration (more information in chapter5).• Help files — If you enable both English and Czech, the help will be displayed in thelanguage version which is set in the Kerio Administration Console. If the languagein the Kerio Administration Console is changed, the language in the help is switchedautomatically.9. In the next dialog, automatic startup of Kerio MailServer upon completion of the installationcan be enabled (the Start the MailServer Engine service after the installation finishesoption).Click on Install. After this step, the installation continues (i.e. files are copied to a harddrive and all necessary system settings are performed).10. Status of the installation process is showed during the installation. Please be patient, theinstallation may take several minutes.Once the installation is completed, click Next. At this moment, the wizard is started wherebasic server parameters can be set (see section 2.5). Be really attentive while setting theseparameters.11. Once the settings in the configuration wizard are done, the final dialog of the installationwizard is opened. Click on Finish to complete the installation (see figure 2.7).23
- Page 1: Administrator’s GuideKerio Techno
- Page 8 and 9: 36 Support for ActiveSync . . . . .
- Page 10: Chapter 1 IntroductionPersonal and
- Page 13 and 14: 1.2 Quick ChecklistBlackBerry suppo
- Page 15 and 16: 1.2 Quick Checklist11. If email for
- Page 17 and 18: 2.2 Conflicting software2.2 Conflic
- Page 19 and 20: 2.4 InstallationBy default, Kerio M
- Page 21: 2.4 InstallationSelect a folder whe
- Page 25 and 26: 2.4 InstallationKerio MailServer En
- Page 27 and 28: 2.4 InstallationThe product support
- Page 29 and 30: 2.4 Installation(Kerio Administrati
- Page 31 and 32: 2.5 Configuration WizardNote: The c
- Page 33 and 34: 2.5 Configuration WizardFigure 2.16
- Page 35 and 36: 2.6 Upgrade and UninstallationWhen
- Page 37 and 38: Chapter 3Product Registration and L
- Page 39 and 40: 3.2 Registration with the administr
- Page 41 and 42: 3.2 Registration with the administr
- Page 43 and 44: 3.3 License information and import
- Page 45 and 46: 3.4 Licensing policyOnce number of
- Page 47 and 48: 4.1 Kerio MailServer MonitorFigure
- Page 49 and 50: 4.2 Standalone processes of the ser
- Page 51 and 52: 5.2 Administration WindowThe same d
- Page 53 and 54: 5.2 Administration WindowStatus bar
- Page 55 and 56: Chapter 6ServicesIn Configuration
- Page 57 and 58: 6.1 Service Parameter Settings• a
- Page 59 and 60: 6.1 Service Parameter SettingsFigur
- Page 61 and 62: 6.3 TroubleshootingFigure 6.5The De
- Page 63 and 64: Chapter 7DomainsKerio MailServer ca
- Page 65 and 66: 7.2 GeneralFigure 7.2Domain setting
- Page 67 and 68: 7.4 FootersFigure 7.3Domain setting
- Page 69 and 70: 7.5 ForwardingFigure 7.5Domain sett
- Page 71 and 72: 7.6 Setting of Directory ServicesFi
Chapter 2 InstallationFigure 2.4<strong>Kerio</strong> MailServer installation path selection8. The following dialog is opened only if the Custom installation was selected. If you selectedthe Complete option, skip reading this section.In the Custom installation, it is possible to choose which <strong>Kerio</strong> MailServer componentswill be installed. This installation type is usually helpful if you need to spare your diskspace by leaving for example the help file out of the installation or if you need to installonly the <strong>Kerio</strong> Administration Console on a host from which you will perform remoteadministration.Components to be installed:• MailServer — the executive core of the program (the <strong>Kerio</strong> MailServer Engine) whichprovides all services and functions. It runs as a background application (as a service onWindows 2000, Windows XP or Windows Vista, or as a daemon on Unix-based systems).Along with the <strong>Kerio</strong> MailServer Engine, it is recommended to install the followingcomponents:• Engine Monitor — to get more information about this component, see chapter 4.1.• Performance Monitor Support — to get more information about this component, seechapter 22.9.22


