WatchGuard Firebox System 7.0 User Guide
WatchGuard Firebox System 7.0 User Guide WatchGuard Firebox System 7.0 User Guide
Chapter 6: Managing and Monitoring the Fireboxexplained in the QuickStart Guide included with yourFirebox. Otherwise, click Continue.The Connect to Firebox dialog box appears. You can connect to aFirebox at this point, or you can cancel the Connect to Fireboxdialog box and connect to a Firebox later.3 If you want to connect to a Firebox at this time, use theFirebox drop-down list to select a Firebox.You can also type the IP address or DNS name of the Firebox.When typing IP addresses, type the digits and periods insequence. Do not use the TAB or arrow key to jump past theperiods. For more information on entering IP addresses, see“Entering IP addresses” on page 43.4 Enter the Firebox status (read-only) passphrase.5 Click OK.The Front Panel tab of the Firebox System Manager appears.Viewing Basic Firebox StatusThe System Manager initially displays the informationshown in the following figure.74 WatchGuard Firebox System
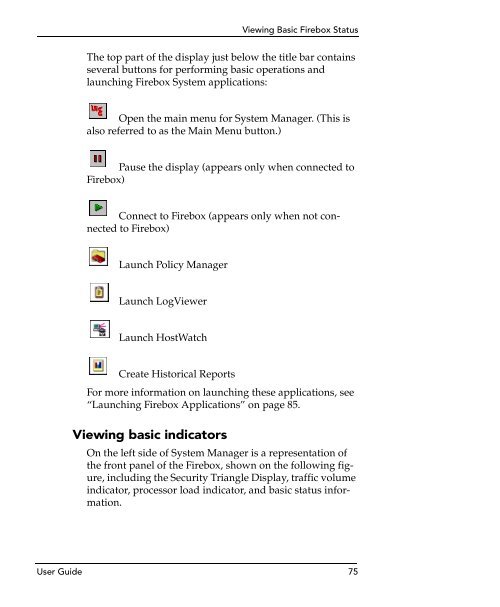
Viewing Basic Firebox StatusThe top part of the display just below the title bar containsseveral buttons for performing basic operations andlaunching Firebox System applications:Open the main menu for System Manager. (This isalso referred to as the Main Menu button.)Pause the display (appears only when connected toFirebox)Connect to Firebox (appears only when not connectedto Firebox)Launch Policy ManagerLaunch LogViewerLaunch HostWatchCreate Historical ReportsFor more information on launching these applications, see“Launching Firebox Applications” on page 85.Viewing basic indicatorsOn the left side of System Manager is a representation ofthe front panel of the Firebox, shown on the following figure,including the Security Triangle Display, traffic volumeindicator, processor load indicator, and basic status information.User Guide 75
- Page 45 and 46: CHAPTER 3Getting StartedThe WatchGu
- Page 47 and 48: Gathering Network InformationNetwor
- Page 49 and 50: .Gathering Network InformationThe f
- Page 51 and 52: Selecting a Firewall Configuration
- Page 53 and 54: Selecting a Firewall Configuration
- Page 55 and 56: Selecting a Firewall Configuration
- Page 57 and 58: Selecting a Firewall Configuration
- Page 59 and 60: Setting Up the Management Station4
- Page 61 and 62: Cabling the FireboxUser Guide 39
- Page 63 and 64: Running the QuickSetup WizardProvid
- Page 65 and 66: Entering IP addressesRunning the Qu
- Page 67 and 68: What’s Nextservices, in addition
- Page 69 and 70: CHAPTER 4Firebox BasicsThis chapter
- Page 71 and 72: Opening a Configuration FileTrusted
- Page 73 and 74: Saving a Configuration File3 From t
- Page 75 and 76: Resetting Firebox Passphrasesenter
- Page 77 and 78: Setting the Time Zone2 Select the m
- Page 79 and 80: CHAPTER 5Using PolicyManager toConf
- Page 81 and 82: Setting IP Addresses of Firebox Int
- Page 83 and 84: Setting DHCP or PPPoE Support on th
- Page 85 and 86: Defining External IP Aliases2 Confi
- Page 87 and 88: Entering WINS and DNS Server Addres
- Page 89 and 90: Defining a Firebox as a DHCP Server
- Page 91 and 92: Adding Basic Services to Policy Man
- Page 93 and 94: Configuring Routes3 Click the Net o
- Page 95: CHAPTER 6Managing andMonitoring the
- Page 99 and 100: Viewing Basic Firebox Statusbut the
- Page 101 and 102: Viewing Basic Firebox Status• The
- Page 103 and 104: Monitoring Firebox TrafficSetting t
- Page 105 and 106: Performing Basic Tasks with System
- Page 107 and 108: Performing Basic Tasks with System
- Page 109 and 110: Viewing Bandwidth Usage(shown above
- Page 111 and 112: Viewing Details on Firebox Activity
- Page 113 and 114: Viewing Details on Firebox Activity
- Page 115 and 116: Viewing Details on Firebox Activity
- Page 117 and 118: Viewing Details on Firebox Activity
- Page 119 and 120: HostWatchHostWatchHostWatch is a re
- Page 121 and 122: HostWatch3 Enter the Firebox status
- Page 123 and 124: CHAPTER 7Configuring NetworkAddress
- Page 125 and 126: Using Simple Dynamic NATService-bas
- Page 127 and 128: Using Simple Dynamic NAT3 Use the T
- Page 129 and 130: Using Service-Based Dynamic NATEnab
- Page 131 and 132: Configuring a Service for Incoming
- Page 133 and 134: Using 1-to-1 NATA one-to-one mappin
- Page 135 and 136: CHAPTER 8Configuring FilteredServic
- Page 137 and 138: Selecting Services for your Securit
- Page 139 and 140: Adding and Configuring Servicesrigh
- Page 141 and 142: Adding and Configuring Services5 (O
- Page 143 and 144: Adding and Configuring Services3 In
- Page 145 and 146: Adding and Configuring Services11 C
Viewing Basic <strong>Firebox</strong> StatusThe top part of the display just below the title bar containsseveral buttons for performing basic operations andlaunching <strong>Firebox</strong> <strong>System</strong> applications:Open the main menu for <strong>System</strong> Manager. (This isalso referred to as the Main Menu button.)Pause the display (appears only when connected to<strong>Firebox</strong>)Connect to <strong>Firebox</strong> (appears only when not connectedto <strong>Firebox</strong>)Launch Policy ManagerLaunch LogViewerLaunch HostWatchCreate Historical ReportsFor more information on launching these applications, see“Launching <strong>Firebox</strong> Applications” on page 85.Viewing basic indicatorsOn the left side of <strong>System</strong> Manager is a representation ofthe front panel of the <strong>Firebox</strong>, shown on the following figure,including the Security Triangle Display, traffic volumeindicator, processor load indicator, and basic status information.<strong>User</strong> <strong>Guide</strong> 75


