C08.1 - Perforated Windsavers - Hohner
C08.1 - Perforated Windsavers - Hohner C08.1 - Perforated Windsavers - Hohner
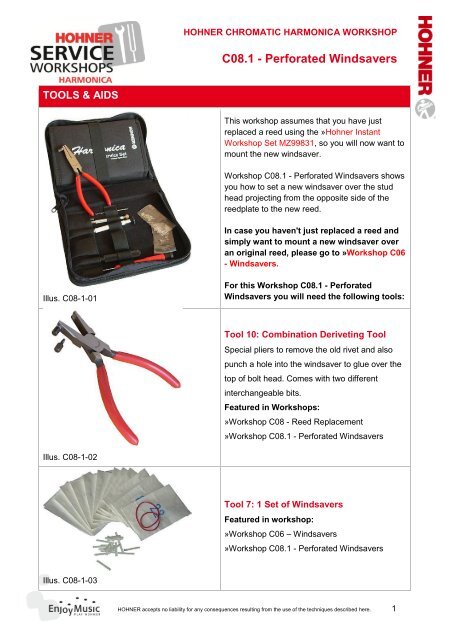
HOHNER CHROMATIC HARMONICA WORKSHOPC08.1 - Perforated WindsaversTOOLS & AIDSThis workshop assumes that you have justreplaced a reed using the »Hohner InstantWorkshop Set MZ99831, so you will now want tomount the new windsaver.Workshop C08.1 - Perforated Windsavers showsyou how to set a new windsaver over the studhead projecting from the opposite side of thereedplate to the new reed.In case you haven't just replaced a reed andsimply want to mount a new windsaver overan original reed, please go to »Workshop C06- Windsavers.Illus. C08-1-01For this Workshop C08.1 - PerforatedWindsavers you will need the following tools:Tool 10: Combination Deriveting ToolSpecial pliers to remove the old rivet and alsopunch a hole into the windsaver to glue over thetop of bolt head. Comes with two differentinterchangeable bits.Featured in Workshops:»Workshop C08 - Reed Replacement»Workshop C08.1 - Perforated WindsaversIllus. C08-1-02Tool 7: 1 Set of WindsaversFeatured in workshop:»Workshop C06 – Windsavers»Workshop C08.1 - Perforated WindsaversIllus. C08-1-03H HOHNER accepts no liability for any consequences resulting from the use of the techniques described here. 1
- Page 2 and 3: C08.1 - Perforated WindsaversStep 0
- Page 4: C08.1 - Perforated WindsaversPunchi
HOHNER CHROMATIC HARMONICA WORKSHOP<strong>C08.1</strong> - <strong>Perforated</strong> <strong>Windsavers</strong>TOOLS & AIDSThis workshop assumes that you have justreplaced a reed using the »<strong>Hohner</strong> InstantWorkshop Set MZ99831, so you will now want tomount the new windsaver.Workshop <strong>C08.1</strong> - <strong>Perforated</strong> <strong>Windsavers</strong> showsyou how to set a new windsaver over the studhead projecting from the opposite side of thereedplate to the new reed.In case you haven't just replaced a reed andsimply want to mount a new windsaver overan original reed, please go to »Workshop C06- <strong>Windsavers</strong>.Illus. C08-1-01For this Workshop <strong>C08.1</strong> - <strong>Perforated</strong><strong>Windsavers</strong> you will need the following tools:Tool 10: Combination Deriveting ToolSpecial pliers to remove the old rivet and alsopunch a hole into the windsaver to glue over thetop of bolt head. Comes with two differentinterchangeable bits.Featured in Workshops:»Workshop C08 - Reed Replacement»Workshop <strong>C08.1</strong> - <strong>Perforated</strong> <strong>Windsavers</strong>Illus. C08-1-02Tool 7: 1 Set of <strong>Windsavers</strong>Featured in workshop:»Workshop C06 – <strong>Windsavers</strong>»Workshop <strong>C08.1</strong> - <strong>Perforated</strong> <strong>Windsavers</strong>Illus. C08-1-03H HOHNER accepts no liability for any consequences resulting from the use of the techniques described here. 1
<strong>C08.1</strong> - <strong>Perforated</strong> <strong>Windsavers</strong>Step 01 - Remove the defective reedIn »Workshop 08 you have learned how toreplace reeds.After replacing the reed, you'll no doubt havenoticed that the head of the stud bolt projects outof the opposite side of the reedplate in the exactspot where the windsaver base needs to beglued into place.In order to glue on the windsaver, we thereforeneed to punch a hole in its base to accommodatethe stud head.<strong>Hohner</strong> has developed a CombinationDeriveting Tool (10), fitted with twointerchangeable bits (10a & 10b) which are usedfor two separate tasks:Illus. C08-1-04To punch out the rivet which secured theold reed as shown in »Workshop C08 -Exchange Reed.To punch a hole in the new windsaver toaccommodate the stud head.Here we need the bit used for punching a hole inthe windsaver (10b).The first step is to select and install theappropriate bit 10b. (Illus. C06-1-04)The bit shouldn't be screwed all the way in atfirst, only so far that it's flush with the innerholding surface.Illus. C08-1-052
<strong>C08.1</strong> - <strong>Perforated</strong> <strong>Windsavers</strong>STEP 02 - Perforating the WindsaverSelect a suitable windsaver from the Set ofWindsaver Valves (7).Choose the right valve for the slot in question byplacing it next to the slot and allowing forsufficient locating surface at the base.Illus. C08-1-06Step 03 - DeburringThen place the windsaver in the followingposition in the recess in the pliers:With the contact surface (underside orsealing surface) facing upwards.Parallell to the recess in the pliers,inserted as far as it will go.-1-19-1Illus. C08-1-073
<strong>C08.1</strong> - <strong>Perforated</strong> <strong>Windsavers</strong>Punching the hole takes place in 6 stages:Insert the windsaver valveClose the pliersScrew the bit in by hand as far as it willgoUnscrew the bit while keeping the pliersclosedOpen the pliersRemove the perforated windsaverIllus. C08-1-08The windsaver has now been perforated in theright place.Illus. C08-1-09STEP 03 - Mount and glue on the <strong>Perforated</strong> WindsaverAffix the perforated windsaver as shown inWorkshop CO6, steps 2 & 3.Illus. C08-1-22© <strong>Hohner</strong> Musikinstrumente GmbH. & Co. KG, Trossingen, service@hohner.de, www.hohner.de 4


