Proline Promass 83E/F/O Modbus RS485 Operating Instructions
Proline Promass 83E/F/O Modbus RS485 Operating Instructions
Proline Promass 83E/F/O Modbus RS485 Operating Instructions
Create successful ePaper yourself
Turn your PDF publications into a flip-book with our unique Google optimized e-Paper software.
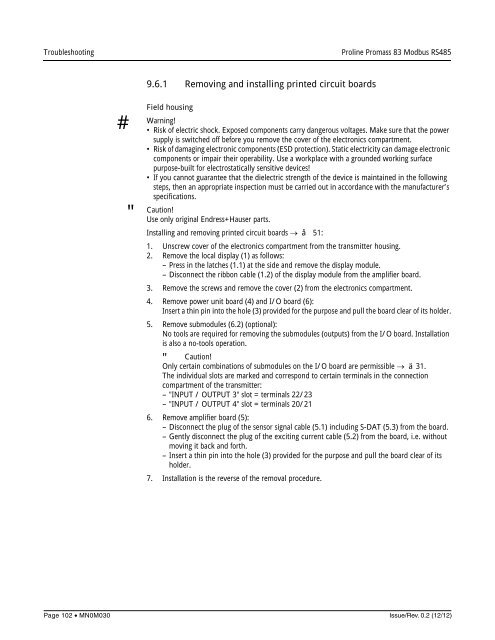
Troubleshooting<strong>Proline</strong> <strong>Promass</strong> 83 <strong>Modbus</strong> <strong>RS485</strong>9.6.1 Removing and installing printed circuit boards#Warning!"Caution!Field housing• Risk of electric shock. Exposed components carry dangerous voltages. Make sure that the powersupply is switched off before you remove the cover of the electronics compartment.• Risk of damaging electronic components (ESD protection). Static electricity can damage electroniccomponents or impair their operability. Use a workplace with a grounded working surfacepurpose-built for electrostatically sensitive devices!• If you cannot guarantee that the dielectric strength of the device is maintained in the followingsteps, then an appropriate inspection must be carried out in accordance with the manufacturer’sspecifications.Use only original Endress+Hauser parts.Installing and removing printed circuit boards å 51:1. Unscrew cover of the electronics compartment from the transmitter housing.2. Remove the local display (1) as follows:– Press in the latches (1.1) at the side and remove the display module.– Disconnect the ribbon cable (1.2) of the display module from the amplifier board.3. Remove the screws and remove the cover (2) from the electronics compartment.4. Remove power unit board (4) and I/O board (6):Insert a thin pin into the hole (3) provided for the purpose and pull the board clear of its holder.5. Remove submodules (6.2) (optional):No tools are required for removing the submodules (outputs) from the I/O board. Installationis also a no-tools operation." Caution!Only certain combinations of submodules on the I/O board are permissible ä 31.The individual slots are marked and correspond to certain terminals in the connectioncompartment of the transmitter:– "INPUT / OUTPUT 3" slot = terminals 22/23– "INPUT / OUTPUT 4" slot = terminals 20/216. Remove amplifier board (5):– Disconnect the plug of the sensor signal cable (5.1) including S-DAT (5.3) from the board.– Gently disconnect the plug of the exciting current cable (5.2) from the board, i.e. withoutmoving it back and forth.– Insert a thin pin into the hole (3) provided for the purpose and pull the board clear of itsholder.7. Installation is the reverse of the removal procedure.Page 102 • MN0M030Issue/Rev. 0.2 (12/12)


