HME Frequency DIP Switch Settings Manual for COM2000.pdf
HME Frequency DIP Switch Settings Manual for COM2000.pdf
HME Frequency DIP Switch Settings Manual for COM2000.pdf

You also want an ePaper? Increase the reach of your titles
YUMPU automatically turns print PDFs into web optimized ePapers that Google loves.
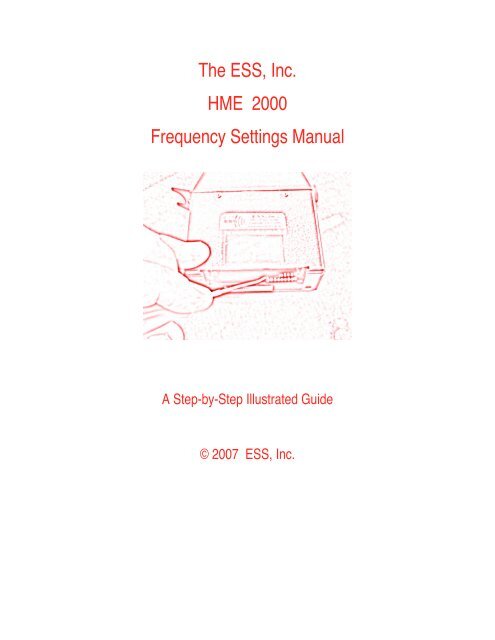
The ESS, Inc.<br />
<strong>HME</strong> 2000<br />
<strong>Frequency</strong> <strong>Settings</strong> <strong>Manual</strong><br />
A Step-by-Step Illustrated Guide<br />
© 2007 ESS, Inc.
<strong>HME</strong>® 2000 Order Taker <strong>Frequency</strong> Setting (<strong>DIP</strong> <strong>Switch</strong>es) Procedure<br />
ESS, Inc. -- 615-259-3671<br />
This document will demonstrate how to set the frequencies of the <strong>HME</strong> 2000 Order Taker.<br />
Introduction<br />
If you take advantage of the ESS Advance Replacement Program and need to incorporate a replacement Order<br />
Taker into your existing system you may need to make adjustments to the new Order Taker to match its operating<br />
frequency and tone settings to those of your <strong>HME</strong> wireless system.<br />
Tools Needed:<br />
Paperclip or small screwdriver<br />
Locating the <strong>DIP</strong> <strong>Switch</strong>es<br />
Open the battery compartment of the new<br />
Order Taker and of a working Order Taker and<br />
remove their batteries.<br />
The <strong>DIP</strong> <strong>Switch</strong>es are located just inside the<br />
battery compartment. They will be small white<br />
tabs in a black plastic housing. You should<br />
see a row of 4 switches with another row of 8<br />
below it.<br />
<strong>HME</strong> - <strong>DIP</strong> <strong>Switch</strong> <strong>Settings</strong> Page 2
<strong>HME</strong>® 2000 Order Taker <strong>Frequency</strong> Setting (<strong>DIP</strong> <strong>Switch</strong>es) Procedure<br />
ESS, Inc. -- 615-259-3671<br />
<strong>DIP</strong> <strong>Switch</strong> Basics 101<br />
This is a 8-position <strong>DIP</strong> switch, the individual switches slide<br />
Up <strong>for</strong> “OFF” or remain Down <strong>for</strong> “ON”. A small screwdriver<br />
or paperclip should be used to slide them.<br />
This is a close-up of the <strong>DIP</strong> <strong>Switch</strong>es in your <strong>HME</strong><br />
2000 Order Taker.<br />
Setting the <strong>Switch</strong>es<br />
Compare the <strong>DIP</strong> switch settings of the new<br />
Order Taker and of the working Order Taker<br />
If they are different, change the <strong>DIP</strong> switch<br />
settings of the new unit to match the settings<br />
of the working unit.<br />
Be certain the switches are adjusted fully to<br />
the ON or OFF position.<br />
<strong>HME</strong> - <strong>DIP</strong> <strong>Switch</strong> <strong>Settings</strong> Page 3
<strong>HME</strong>® 2000 Order Taker <strong>Frequency</strong> Setting (<strong>DIP</strong> <strong>Switch</strong>es) Procedure<br />
ESS, Inc. -- 615-259-3671<br />
Test the Unit<br />
While standing in front of the base station push<br />
the “A” button on the Order Taker and check to ensure that the<br />
“A” indicator on the base station illuminates.<br />
Repeat <strong>for</strong> the “B” button.<br />
If both “A” and “B” light you have successfully set your frequencies!<br />
If either “A”or “B” fails to light go back and check that the <strong>DIP</strong><br />
<strong>Switch</strong>es are set exactly like the ones on the working unit.<br />
End of Procedure.<br />
Final Notes<br />
Call Us with any questions.<br />
ESS, Inc.<br />
615-259-3671<br />
www.essnashville.com<br />
help@drivethruhelp.com<br />
© 2007 ESS, Inc. All Rights Reserved.<br />
<strong>HME</strong> - <strong>DIP</strong> <strong>Switch</strong> <strong>Settings</strong> Page 4