Tempest® Hot Air Drying System Installation Instructions
Tempest® Hot Air Drying System Installation Instructions
Tempest® Hot Air Drying System Installation Instructions

You also want an ePaper? Increase the reach of your titles
YUMPU automatically turns print PDFs into web optimized ePapers that Google loves.
OPERATION & MAINTENANCE<br />
HOW DRYING IS<br />
ACCELERATED<br />
WITH TEMPEST ®<br />
Tempest ® creates a two-step drying process when used with oil-base<br />
inks. These steps are:<br />
1. Skinning the surface of the ink with the initial blast of hot air to<br />
prevent set off.<br />
2. Accelerating the final drying process approximately 20 o F over the<br />
cold stack temperature in the feeder. Heat accelerates the drying<br />
process, called oxidation and reduction, of oil-based inks.<br />
In general, dryers including infrared do not work well with rubber or<br />
acrylic-based inks. These inks should be avoided when maximum<br />
results are desired.<br />
HOW TEMPEST ®<br />
WORKS<br />
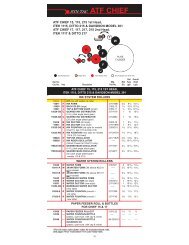
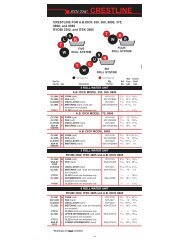
1. When voltage is applied to the thermistors (triangular shaped<br />
objects arranged in a honeycomb pattern), the thermistors begin to<br />
heat. (Thermistors are coated semiconductors).<br />
2. Thermistors heat to a predetermined temperature, in this case<br />
about 400 o F, and remain at that temperature. This is known as<br />
autostabilization.<br />
3. The fans blow air down towards and through the thermistors,<br />
creating a flow of hot air to the sheet.<br />
4. <strong>Drying</strong> of the ink occurs in the two-step process as described<br />
above.<br />
No dryer totally eliminates the need for spray powder. There may be<br />
some jobs, for example, a heavy solid on a high gloss sheet where<br />
powder is required. Overall, Tempest ® should reduce your spray<br />
powder usage significantly, leaving you with a better printed product<br />
and cleaner working environment.<br />
TEMPEST ®<br />
OPERATION<br />
ON/OFF OPERATION<br />
The switch is located on the side of the Tempest ® box which<br />
provides power to the box. Select 1 for on and 0 for off.<br />
22