Download - OCS Inventory NG
Download - OCS Inventory NG
Download - OCS Inventory NG
Create successful ePaper yourself
Turn your PDF publications into a flip-book with our unique Google optimized e-Paper software.
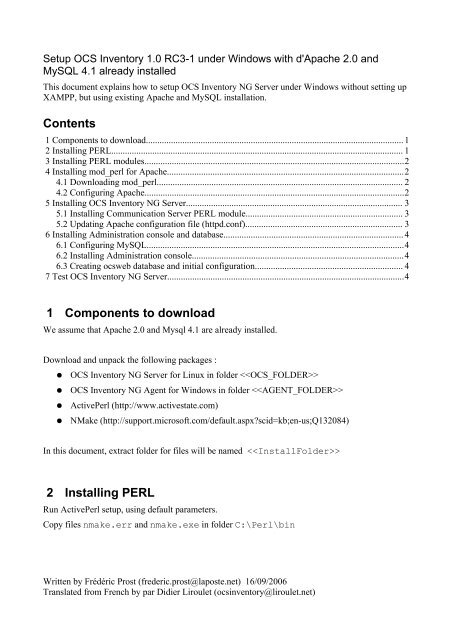
Setup <strong>OCS</strong> <strong>Inventory</strong> 1.0 RC3-1 under Windows with d'Apache 2.0 and<br />
MySQL 4.1 already installed<br />
This document explains how to setup <strong>OCS</strong> <strong>Inventory</strong> <strong>NG</strong> Server under Windows without setting up<br />
XAMPP, but using existing Apache and MySQL installation.<br />
Contents<br />
1 Components to download................................................................................................................. 1<br />
2 Installing PERL................................................................................................................................ 1<br />
3 Installing PERL modules..................................................................................................................2<br />
4 Installing mod_perl for Apache........................................................................................................2<br />
4.1 <strong>Download</strong>ing mod_perl............................................................................................................ 2<br />
4.2 Configuring Apache..................................................................................................................2<br />
5 Installing <strong>OCS</strong> <strong>Inventory</strong> <strong>NG</strong> Server............................................................................................... 3<br />
5.1 Installing Communication Server PERL module..................................................................... 3<br />
5.2 Updating Apache configuration file (httpd.conf)..................................................................... 3<br />
6 Installing Administration console and database............................................................................... 4<br />
6.1 Configuring MySQL.................................................................................................................4<br />
6.2 Installing Administration console.............................................................................................4<br />
6.3 Creating ocsweb database and initial configuration................................................................. 4<br />
7 Test <strong>OCS</strong> <strong>Inventory</strong> <strong>NG</strong> Server........................................................................................................4<br />
1 Components to download<br />
We assume that Apache 2.0 and Mysql 4.1 are already installed.<br />
<strong>Download</strong> and unpack the following packages :<br />
●<br />
●<br />
●<br />
●<br />
<strong>OCS</strong> <strong>Inventory</strong> <strong>NG</strong> Server for Linux in folder <br />
<strong>OCS</strong> <strong>Inventory</strong> <strong>NG</strong> Agent for Windows in folder <br />
ActivePerl (http://www.activestate.com)<br />
NMake (http://support.microsoft.com/default.aspxscid=kb;en-us;Q132084)<br />
In this document, extract folder for files will be named <br />
2 Installing PERL<br />
Run ActivePerl setup, using default parameters.<br />
Copy files nmake.err and nmake.exe in folder C:\Perl\bin<br />
Written by Frédéric Prost (frederic.prost@laposte.net) 16/09/2006<br />
Translated from French by par Didier Liroulet (ocsinventory@liroulet.net)
3 Installing PERL modules<br />
Needed PERL module list is available in file README from folder<br />
//README :<br />
●<br />
●<br />
●<br />
●<br />
●<br />
●<br />
XML::Simple<br />
Compress:Zlib<br />
DBI<br />
DBD::Mysql<br />
Apache::DBI<br />
Net::IP<br />
Some PERL module are already installed with ActivePerl. To view list of installed PERL modules,<br />
run command ppm to open PERL package manager. By default, DBI, XML::Simple and<br />
Compress::Zlib are already installed.<br />
Ensure that module version are greater than the required once listed in README.<br />
To setup the other modules, you just have to run the following command (need Internet connection)<br />
:<br />
ppm instal (take care to the case).<br />
For example : ppm install DBD:Mysql<br />
ppm install Apache::DBI<br />
ppm install Net::IP<br />
4 Installing mod_perl for Apache<br />
4.1 <strong>Download</strong>ing mod_perl<br />
Just run (need Internet connection) :<br />
ppm install http://theoryx5.uwinnipeg.ca/ppms/mod_perl.ppd<br />
During the install process, you will be asked for Apache module folder, where to copy mod_perl.so<br />
file.<br />
For more informations about mod_perl setup, refer to :<br />
http://perl.apache.org/docs/2.0/os/win32/install.html#PPM_Packages<br />
4.2 Configuring Apache<br />
Edit Apache configuration file httpd.conf and add following lines :<br />
LoadFile "C:/Perl/bin/perl58.dll"<br />
LoadModule perl_module modules/mod_perl.so<br />
Then restart Apache service.<br />
Written by Frédéric Prost (frederic.prost@laposte.net) 16/09/2006<br />
Translated from French by par Didier Liroulet (ocsinventory@liroulet.net)
5 Installing <strong>OCS</strong> <strong>Inventory</strong> <strong>NG</strong> Server<br />
5.1 Installing Communication Server PERL module<br />
Open a command prompt in folder //Apache.<br />
Read file INSTALL and then run the following commands :<br />
perl MakeFile.PL<br />
nmake<br />
nmake install<br />
5.2 Updating Apache configuration file (httpd.conf)<br />
Edit file
6 Installing Administration console and database<br />
6.1 Configuring MySQL<br />
Ensure that InnoDB database engine is enabled in MySQL configuration file : my.ini.<br />
You must uncomment line skip innodb.<br />
Then, restart MySQL service.<br />
6.2 Installing Administration console<br />
Copy folder //ocsreports to the document root<br />
directory of your Apache web server.<br />
6.3 Creating ocsweb database and initial configuration<br />
In your favorite web browser, open URL http:///ocsreports to run<br />
<strong>OCS</strong> <strong>Inventory</strong> <strong>NG</strong> setup process.<br />
Then, update if asked file C:\windows\php.ini (openssl, file size and restart Apache service).<br />
Follow instructions to create database and insert initial configuration into database.<br />
7 Test <strong>OCS</strong> <strong>Inventory</strong> <strong>NG</strong> Server<br />
In folder /, run ocsAgent.exe.<br />
This command creates a folder C:\ocs-ng where <strong>OCS</strong> <strong>Inventory</strong> <strong>NG</strong> agent is installed.<br />
Open a command prompt in this folder and run command<br />
ocsinventory /server:127.0.0.1 /pnum: /debug<br />
Check in Administration console that your computer has been added in inventory.<br />
Setup is now finished and <strong>OCS</strong> <strong>Inventory</strong> <strong>NG</strong> Server may work without any problem.<br />
Written by Frédéric Prost (frederic.prost@laposte.net) 16/09/2006<br />
Translated from French by par Didier Liroulet (ocsinventory@liroulet.net)


