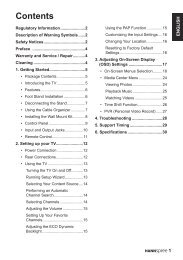
TABLE OF CONTENTS - Hannspree
TABLE OF CONTENTS - Hannspree
TABLE OF CONTENTS - Hannspree
You also want an ePaper? Increase the reach of your titles
YUMPU automatically turns print PDFs into web optimized ePapers that Google loves.
User’s Manual<br />
INSTALLATION INSTRUCTIONS<br />
INSTALL<br />
REMOVE<br />
Figure.1. Installing and Removing the Base<br />
INSTALLATION:<br />
1. Align the monitor with the opening in the base.<br />
2. Note that the longer section of the base points forward.<br />
3. Snap the monitor into its base. A clear click sound will affirm that the base is connected<br />
correctly.<br />
4. Verify that the monitor is securely attached to the base by looking at the bottom of the base and<br />
making sure that the clips are fully engaged in the base.<br />
REMOVAL:<br />
1. Flip over the monitor so that it is upside down.<br />
2. Press the 2 clips on the base that holds the monitor in place.<br />
3. Gently press and hold the 2 clips while pulling the base from the monitor unit they are<br />
unattached.<br />
POWER<br />
POWER SOURCE:<br />
1. Make sure that the power cord is the correct type required in your area.<br />
2. This LCD monitor has an Internal universal power supply that allows operation in either<br />
100/120V AC or 220/240V AC voltage area (No user adjustment is required.)<br />
3. Connect the AC-power cord one end to your LCD monitor’s AC-input socket, the other end to<br />
wall-outlet.<br />
9


