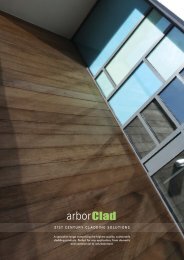
The Installation Handbook - Howarth Timber
The Installation Handbook - Howarth Timber
The Installation Handbook - Howarth Timber

Create successful ePaper yourself
Turn your PDF publications into a flip-book with our unique Google optimized e-Paper software.
4<br />
Using a disc cutter, drop-saw or angle grinder,<br />
cut GTEC I Studs to length (5mm shorter than<br />
the floor to ceiling height) whilst they are in a<br />
pack. If ceiling or floor are very uneven, you will<br />
need to cut GTEC I Studs separately.<br />
5 Insert the GTEC studs into the floor and ceiling<br />
tracks and twist to lock. Position them at 600mm<br />
centres for 1200mm wide, 12.5mm thick<br />
plasterboard.<br />
Note 1: Arrange the framing so the board widths of less<br />
than 300mm are avoided. Use GTEC I Studs for the<br />
main run of the wall lining, with GTEC C Studs at the stop<br />
ends, abutments, junctions, openings and corners.<br />
Note 2: Insulation batts and any services should be<br />
installed prior to boarding.<br />
Once the GTEC I Studs are friction-fitted, fix the<br />
end GTEC C Studs to head and floor GTEC U<br />
Tracks with GTEC Wafer Head Self Drilling screws,<br />
or crimping tool.<br />
6<br />
Cut the plasterboard 5 to 8mm shorter than the<br />
floor-to-ceiling height, butt firmly against the<br />
ceiling and fix to the framing with GTEC Drywall<br />
Self Drilling screws at 300mm centres.<br />
Butt board edges lightly against each other and<br />
centre the edges over the studs.<br />
THE INSTALLATION HANDBOOK 2008<br />
17