

AS-700, AS-710
AS-700, AS-710
AS-700, AS-710

Create successful ePaper yourself
Turn your PDF publications into a flip-book with our unique Google optimized e-Paper software.
1 2 3<br />
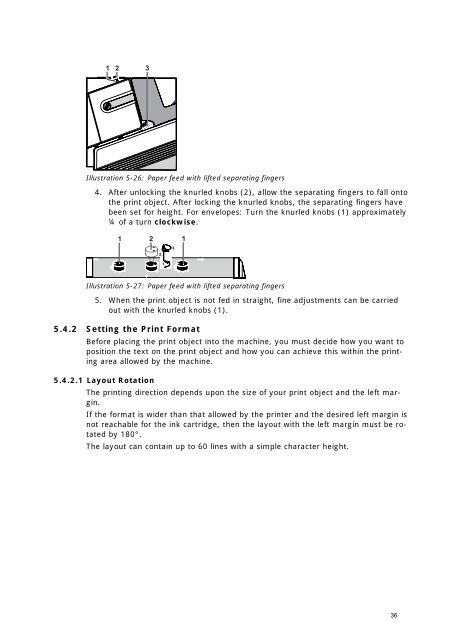
Illustration 5-26: Paper feed with lifted separating fingers<br />
4. After unlocking the knurled knobs (2), allow the separating fingers to fall onto<br />
the print object. After locking the knurled knobs, the separating fingers have<br />
been set for height. For envelopes: Turn the knurled knobs (1) approximately<br />
¼ of a turn clockwise.<br />
1 2 1<br />
2.<br />
1.<br />
3.<br />
Illustration 5-27: Paper feed with lifted separating fingers<br />
5. When the print object is not fed in straight, fine adjustments can be carried<br />
out with the knurled knobs (1).<br />
5.4.2 Setting the Print Format<br />
Before placing the print object into the machine, you must decide how you want to<br />
position the text on the print object and how you can achieve this within the printing<br />
area allowed by the machine.<br />
5.4.2.1 Layout Rotation<br />
The printing direction depends upon the size of your print object and the left margin.<br />
If the format is wider than that allowed by the printer and the desired left margin is<br />
not reachable for the ink cartridge, then the layout with the left margin must be rotated<br />
by 180°.<br />
The layout can contain up to 60 lines with a simple character height.<br />
36


