AS-700, AS-710
AS-700, AS-710
AS-700, AS-710
You also want an ePaper? Increase the reach of your titles
YUMPU automatically turns print PDFs into web optimized ePapers that Google loves.
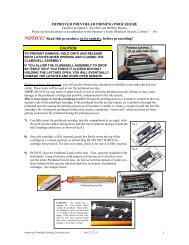
5.3.1 Correctly Inserting the Ink Cartridge<br />
1. Printer switch on, go to the offline mode with the “Start“ key.<br />
2. Lift the safety cover. The carriage moves to the middle. On the display appears:<br />
SAFETY COVER OPEN!<br />
3. Completely lift (upwards) the locking lever (see arrow).<br />
4. Take the ink cartridge out of the packaging and remove the protective strip.<br />
Do not touch the contact plate…<br />
In order to ensure a secure contact for the ink cartridge to the electronics of<br />
the printer, the locking lever has two functions:<br />
• Tipping the ink cartridge into the end position<br />
• Secure locking during operation<br />
5. Set the ink cartridge, with the jet surface downward, with a straight motion<br />
into the holder – do not press in the direction of the locking lever.<br />
6. The ink cartridge stands at a slight slant, prior to the closing of the locking<br />
lever. The locking lever then tips the ink cartridge into the end position.<br />
7. Close the locking lever.<br />
Do not tip the ink cartridge into the end position by hand! This<br />
is taken care of by the locking lever. Otherwise, you can damage<br />
the ink cartridge or the contact plate!<br />
8. When the ink cartridge has been correctly inserted, close the safety cover. On<br />
the display appears:<br />
Emergency Button<br />
Pleas wait……<br />
9. After selection, the carriage moves to the service station.<br />
31


