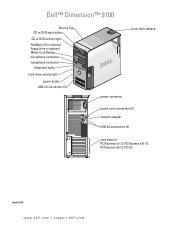
Dell™ PowerEdge™ Expandable RAID Controller 5/i ... - Dell Support
Dell™ PowerEdge™ Expandable RAID Controller 5/i ... - Dell Support
Dell™ PowerEdge™ Expandable RAID Controller 5/i ... - Dell Support

You also want an ePaper? Increase the reach of your titles
YUMPU automatically turns print PDFs into web optimized ePapers that Google loves.
Figure 3-7. Removing the TBBU<br />
memory module<br />
Installing the PERC 5/i Adapter<br />
CAUTION: Only trained service technicians are authorized to remove the system cover and access any of the<br />
components inside the system. Before performing any procedure, see your Product Information Guide for<br />
complete information about safety precautions, working inside the computer, and protecting against electrostatic<br />
discharge.<br />
NOTE: See your system documentation for information on installing the PERC 5/i.<br />
NOTE: The PERC 5/i Adapter will have a battery backup unit (BBU) when installed on a PowerEdge server and will<br />
not have one when installed on a <strong>Dell</strong> Precision workstation or a PowerEdge SC server.<br />
1 Unpack the PERC 5/i Adapter and check for damage.<br />
NOTE: Call <strong>Dell</strong> Technical support if the controller is damaged.<br />
battery<br />
2 Turn off the system and attached peripherals, and disconnect the system from the electrical outlet.<br />
See your system’s Hardware Owner’s Manual for more information on power supplies.<br />
3 Disconnect the system from the network and remove the cover of the system.<br />
NOTE: For more information on removing and replacing the system cover, see the Hardware Owner’s Manual<br />
included with the system.<br />
4 Select an empty PCI-E slot and remove the blank filler bracket. The blank filler bracket is located on<br />
the back of the system, aligned with the empty PCI-E slot you have selected.<br />
Hardware Installation and Configuration 33