110 / 210 Fiber Optic Oxygen Monitor - Instech Laboratories, Inc.
110 / 210 Fiber Optic Oxygen Monitor - Instech Laboratories, Inc.
110 / 210 Fiber Optic Oxygen Monitor - Instech Laboratories, Inc.

You also want an ePaper? Increase the reach of your titles
YUMPU automatically turns print PDFs into web optimized ePapers that Google loves.
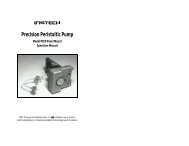
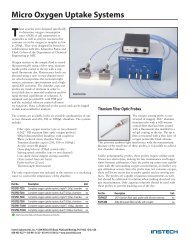
Installing the o-ring on the 125/FO probe.<br />
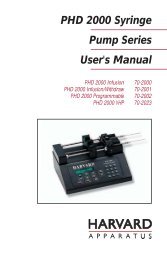
Removing the o-ring from 125/FO probe. WARNING:<br />
cut it rather than trying to push it off over the tip. It is<br />
better to sacrifice the O-ring rather than to damage<br />
the tip coating.<br />
<strong>Instech</strong> Series 600<br />
Chambers<br />
Setting Up the Batch Cell Chamber<br />
The batch cell mode uses the chamber cup with a<br />
magnetic stirring motor mounted behind it. The<br />
chamber cup is sealed with the window valve that is<br />
held in place by a thin layer of silicone grease.<br />
1. Plug in the speed controller. Plug the AC<br />
adapter into the DC IN jack of the speed<br />
controller first, then plug the AC adapter into a<br />
wall outlet.<br />
2. Plug the motor into MOTOR OUT jack of the<br />
speed controller. The motor should run when<br />
the speed controller is turned on.<br />
3. Temporarily insert the chamber cup into the<br />
chamber block. Push in the red leak protection<br />
divider from the rear of the chamber block using<br />
a pencil until it hits the chamber cup. The<br />
opening should face away from the chamber cup.<br />
4. Insert the motor/magnet assembly into the<br />
chamber block until it hits the red spacer, then<br />
pull it back about 1 mm.<br />
5. Gently tighten the set screw to hold the motor<br />
using the provided allen wrench.<br />
Silicone<br />
grease<br />
6. Insert the chamber cup into the front of the<br />
chamber block.<br />
7. Place the stir bar into the chamber cup. It<br />
should couple to the magnet and rotate freely<br />
against the back of the cup when the speed<br />
controller is turned on.<br />
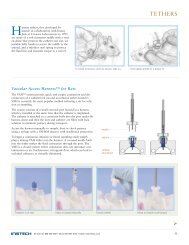
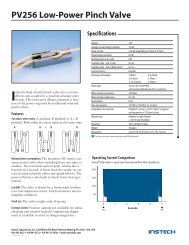
8. Apply a small amount of silicone grease to the<br />
flat front surface of the chamber cup. Avoid the<br />
small fill and overflow port holes.<br />
9. Press the window against the cup and rotate it to<br />
distribute the grease uniformly across the face.<br />
10. Pull off the window valve and clean off excess grease<br />
from the inside of cup using a toothpick. Check the<br />
port holes as well. Do not clean the layer of grease<br />
from the face of the cup – this will form the seal for<br />
the window.<br />
Uniformly<br />
distributed<br />
6