TL-WR542G 54M Wireless Router - TP-Link
TL-WR542G 54M Wireless Router - TP-Link TL-WR542G 54M Wireless Router - TP-Link
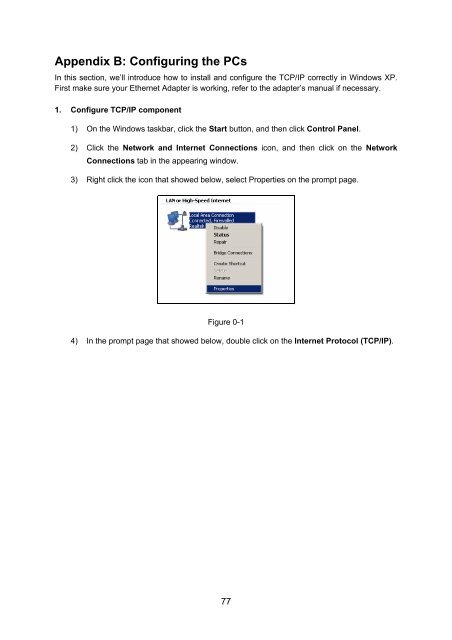
Appendix B: Configuring the PCs In this section, we’ll introduce how to install and configure the TCP/IP correctly in Windows XP. First make sure your Ethernet Adapter is working, refer to the adapter’s manual if necessary. 1. Configure TCP/IP component 1) On the Windows taskbar, click the Start button, and then click Control Panel. 2) Click the Network and Internet Connections icon, and then click on the Network Connections tab in the appearing window. 3) Right click the icon that showed below, select Properties on the prompt page. Figure 0-1 4) In the prompt page that showed below, double click on the Internet Protocol (TCP/IP). 77
Figure 0-2 5) The following TCP/IP Properties window will display and the IP Address tab is open on this window by default. Now you have two ways to configure the TCP/IP protocol below: ‣ Setting IP address automatically Select Obtain an IP address automatically, Choose Obtain DNS server automatically, as shown in the Figure below: 78
- Page 33 and 34: Figure 4-12 PPTP Settings ‣ User
- Page 35 and 36: Click Restore Factory MAC to restor
- Page 37 and 38: Note Dialog Note: Limited by local
- Page 39 and 40: format stands for any combination o
- Page 41 and 42: ‣ Privilege - Select the privileg
- Page 43 and 44: pull-down list, enter 2F34D20BE2E54
- Page 45 and 46: ‣ Address Lease Time - The Addres
- Page 47 and 48: 2. Modify the information. 3. Click
- Page 49 and 50: 3. Click the Save button. Click the
- Page 51 and 52: There are many popular applications
- Page 53 and 54: 4.8 Security Figure 4-33 The Securi
- Page 55 and 56: 1. Effective Time - Enter a range o
- Page 57 and 58: to 17:05. 2. Domain Name - Type the
- Page 59 and 60: To modify or delete an existing ent
- Page 61 and 62: etween 5 ~ 3600 packets. When the c
- Page 63 and 64: Click the Enable All button to make
- Page 65 and 66: 4.11.1 Binding Setting This page di
- Page 67 and 68: • MAC Address - The MAC address o
- Page 69 and 70: Figure 4-52 Oray.net DDNS Settings
- Page 71 and 72: There are nine submenus under the S
- Page 73 and 74: 1. Do not turn off the router or pr
- Page 75 and 76: Figure 4-60 Password It is recommen
- Page 77 and 78: Figure 4-63 Statistics ‣ Current
- Page 79 and 80: Appendix A: FAQ 1. How do I configu
- Page 81 and 82: Figure A-5 Add or Modify a Virtual
- Page 83: 3) Make sure the wireless stations
- Page 87 and 88: Now: Click OK to keep your settings
- Page 89 and 90: Appendix D: Glossary ‣ 2x to 3x e
Appendix B: Configuring the PCs<br />
In this section, we’ll introduce how to install and configure the TCP/IP correctly in Windows XP.<br />
First make sure your Ethernet Adapter is working, refer to the adapter’s manual if necessary.<br />
1. Configure TCP/IP component<br />
1) On the Windows taskbar, click the Start button, and then click Control Panel.<br />
2) Click the Network and Internet Connections icon, and then click on the Network<br />
Connections tab in the appearing window.<br />
3) Right click the icon that showed below, select Properties on the prompt page.<br />
Figure 0-1<br />
4) In the prompt page that showed below, double click on the Internet Protocol (TCP/IP).<br />
77


