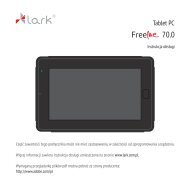
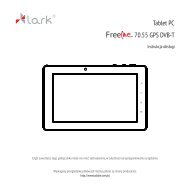
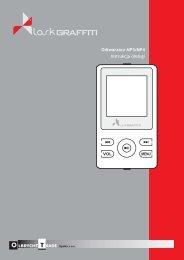
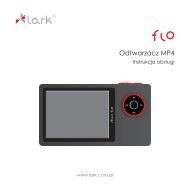
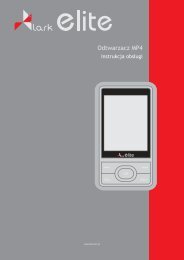
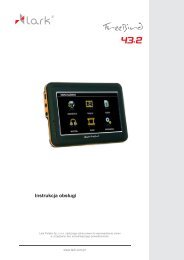
Instrukcja obsÅugi - Lark
Instrukcja obsÅugi - Lark
Instrukcja obsÅugi - Lark

You also want an ePaper? Increase the reach of your titles
YUMPU automatically turns print PDFs into web optimized ePapers that Google loves.
Getting to know the device<br />
Charging the device<br />
To charge the battery of the device please place the USB jack of the car charger in the<br />
USB slot of the device. The other end of the charger place in the car lighter jack (make<br />
sure the car electricity is on). The battery will be charging regardless of the fact if the<br />
device is on or off. Red LED on means charging is in progress. When the battery is fully<br />
charged, the LED will turn green.<br />
1. If you are using the device during the charging process, the charging will take<br />
longer.<br />
2. After charging is complete or when you want to stop charging the device, simple<br />
detach the charger’s cable from the device.<br />
3. Never crush the battery or throw it to fire! Fire or electric shock hazard!<br />
4. While travelling it is recommended to have the car charger attached to the device<br />
all the time.<br />
5. Please, make sure that the device and the cable do not obstruct the driver’s view<br />
of the road and do not interfere with the vehicle operating controls.<br />
Mounting the car holder (vehicle suction mount)<br />
Step 1<br />
Press the rubber part of the mount to the windscreen and move the latch to fasten<br />
the mount.<br />
Step 2<br />
Using the knobs adjust the position of the mount to your needs.<br />
When installing the device in your vehicle please make sure it does not obstruct<br />
the driver’s view of the road or interfere with vehicle operating controls.<br />
Do not place the device unsecured on the vehicle dashboard.<br />
Do not place the device on or above any airbag.<br />
Getting started – acquiring satellites’ signal<br />
<br />
<br />
<br />
<br />
When you switch ON the device for the first time, please make sure you are in an<br />
open space, with no large objects near (like tall buildings and trees).<br />
Hold the device steadily until the acquisition of satellites’ signal. Pls note that<br />
acquiring the satellites can take a few minutes.<br />
Than you can set your route.<br />
It is always recommended to acquire the GPS signal before placing the device<br />
in the car.<br />
Connecting the GPS device to PC<br />
After installing the ActiveSyc software (see page 19)<br />
connect the GPS device to your PC using the USB<br />
cabel (mini-A USB type). The cable must be obtained<br />
separately, it is not included in the set.<br />
8