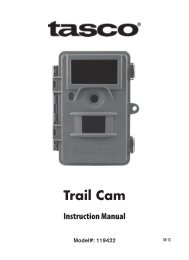
Trail Cam 119256CW - Tasco
Trail Cam 119256CW - Tasco
Trail Cam 119256CW - Tasco

Create successful ePaper yourself
Turn your PDF publications into a flip-book with our unique Google optimized e-Paper software.
<strong>Cam</strong>era OPERATION (continued)<br />
3. Test the Coverage Area<br />
One of the <strong>Trail</strong> <strong>Cam</strong>era’s most useful features is the ability to test the<br />
coverage area.<br />
• After mounting the camera, open the front housing and slide<br />
the Power switch to the “ON” position. Press the SETUP button if<br />
necessary to enter the Setup Menu.<br />
• The PIR indicator light below the lens will blink when you have<br />
entered the coverage area.<br />
• Adjust the camera position as needed and repeat the test until the<br />
desired coverage area is achieved.<br />
• Press the SETUP button again when you are finished using the test<br />
mode-the camera will be “sleeping” and waiting for the PIR sensor<br />
to trigger the first photo or video capture.<br />
• Maximum PIR sensor range is approx. 30 ft.<br />
4. Secure the <strong>Cam</strong>era<br />
A standard padlock may be used in the camera’s lock hole to secure it<br />
and prevent theft.<br />
13