Air Star Comfort 20 / 30 - Air Star AB
Air Star Comfort 20 / 30 - Air Star AB
Air Star Comfort 20 / 30 - Air Star AB

You also want an ePaper? Increase the reach of your titles
YUMPU automatically turns print PDFs into web optimized ePapers that Google loves.
Assembly<br />
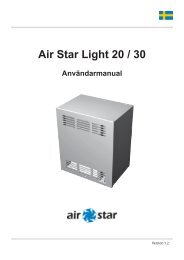
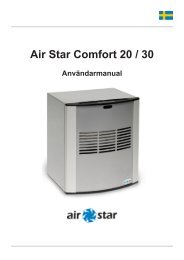
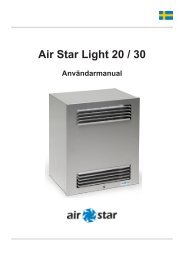
<strong>Air</strong> <strong>Star</strong> <strong>Comfort</strong> <strong>20</strong>/<strong>30</strong><br />
Safety precautions<br />
• The unit must not be placed under an electric socket!<br />
• The ventilator must not be covered. Overheating risk!<br />
• Do not place the ventilation unit behind furniture or in any other manner that reduces<br />
circulation throughout the room.<br />
• Wear respiratory protection when you install the ventilator recessed in concrete walls.<br />
• A maximum of three units should be connected to a single fuse block 10A.<br />
• It is recommended not to add any additional load to the same fuse group.<br />
Fixed installation<br />
• For fixed installation (no plug), an all-pole switch must be mounted before the unit<br />
by a qualified electrician.<br />
Warning!<br />
• In order to avoid overheating, do not cover the heater.<br />
• The heater must not be located immediately bellow a socket outlet.<br />
Work sequence for assembly directly on wall<br />
1. Place the outer box against the wall and plot the circular bushing on the outer box’s back piece,<br />
adjusting the hole to the sleeve diameter and depth (sleeve dimensions Ø 123 mm and 41 mm<br />
deep). Drill the remainder of the holes with Ø 100 mm + 10-15 mm of insulation.<br />
2. Drill and cut the opening for the wall bushing. Remember that the Spiro pipe must not be longer<br />
than 1 m horizontally.<br />
3. Measure and cut the pipe to the correct length. Insert and secure the Spiro pipe. The black rubber<br />
seal on the pipe must be facing the outer box sleeve.<br />
4. Installation of the outer box. <strong>Star</strong>t by drilling four attachment holes in the box’s back piece. Use a<br />
screw (and plug, if needed) suited for the wall.<br />
Use vibration damping material between the attachment points on the box and the wall. Ensure<br />
that the vibration damping material is not compressed too much and loses its function. (Risk of<br />
structure-borne sound in the wall). Push the Spiro pipe into the outer box sleeve.<br />
5. Clean the inside of the outer box before putting the ventilator in place. Carefully slide the unit<br />
so that the ventilator sleeve goes into the slot on the outer box sleeve.<br />
6. Connect the plug to the wall socket.<br />
<strong>Comfort</strong> <strong>20</strong>/<strong>30</strong> is now installed and ready for operation. Go to chapter: Use for setting the unit.<br />
User Manual 7 Version 1.6